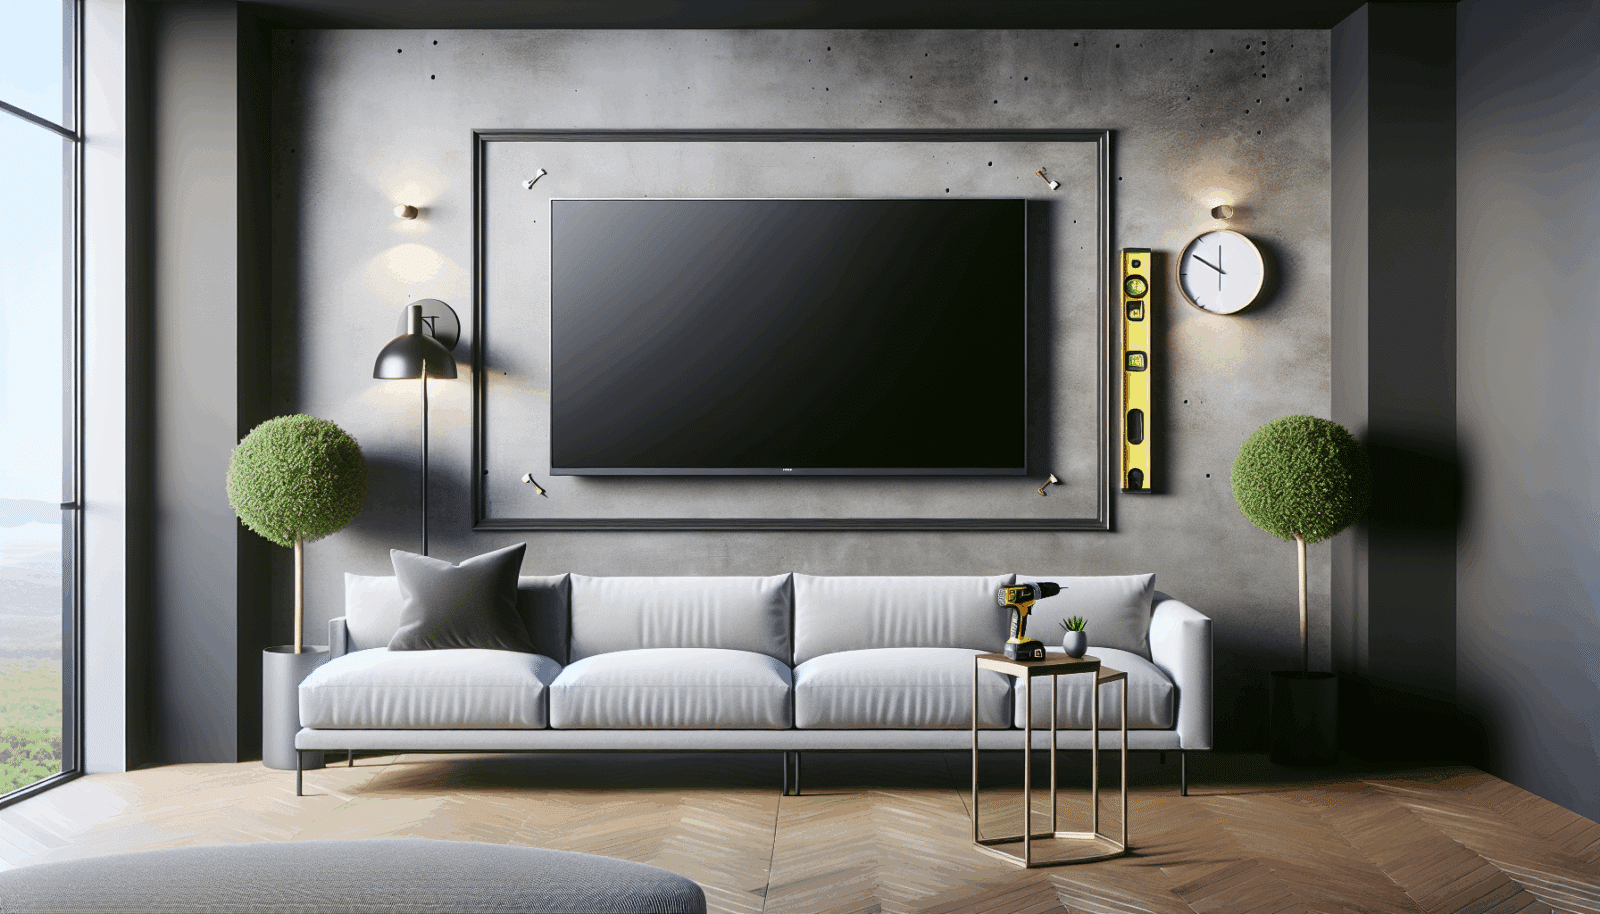
At Utah TV Mounting, we recognize the challenges homeowners face when trying to mount a TV on textured walls. Uneven surfaces can complicate installation, but don’t worry—you’ve come to the right place! Our comprehensive guide will walk you through the best tips and tricks to achieve a flawless, secure Tv Mounting experience. Whether you’re a DIY enthusiast or someone looking to gain insight before hiring a professional, this article caters to your TV mounting needs.
Contents
Understanding Wall Textures
Before we dive into mounting tips, it’s crucial to understand the types of textured walls you may encounter. Wall textures like orange peel, knockdown, or popcorn can impact the mounting process. Each texture presents its own set of challenges, such as uneven surfaces and difficulty in marking drilling spots. Knowing what you’re up against will better prepare you for the task ahead.
Orange peel texture is common in many homes due to its subtle, smooth finish. This type of texture can usually accommodate smaller anchors with fewer complications. In contrast, knockdown texture has a more rugged appearance, resembling patterns of splattered mud that’s been flattened. This texture might require you to seek extra support during the installation process.
Popcorn texture may be the most challenging of all, often seen on walls but commonly used for ceilings. Its bumpy nature can complicate measurements and require additional tools or techniques to achieve level mounting. Understanding these textures paves the way to successful TV mounting.
Choice of Tools and Materials
Choosing the right tools and materials is pivotal for a successful TV mounting project. Using subpar equipment can jeopardize the security and appearance of your mounted TV. Always opt for high-quality tools to ensure both safety and effectiveness.
Begin with a quality stud finder suitable for textured walls to help locate secure anchor points. Leveling tools are indispensable as well; a laser level is particularly effective on uneven surfaces. Using wall mounts designed for textured surfaces minimizes complications. Lastly, never underestimate the power of a good toolbox, complete with basic equipment like drills, screwdrivers, and tape measures.
Preparing the Wall
Preparation is key when it comes to mounting a TV on textured walls. Careful planning and forethought prevent common pitfalls and ensure a smooth installation. Begin by identifying the ideal height for your TV. Consider both comfort and aesthetics—your eye level while seated is often ideal.
Once you determine the height, use painter’s tape to outline the TV position. This practice helps visualize the final setup and offers a guideline when drilling. Verify the marked area is free of electrical wires or plumbing using a wire and pipe detector, available at most hardware stores. Double-checking now saves potential headaches down the line.
Finding the Perfect Spot
Location can make or break your TV viewing experience. Consider room dynamics, sun exposure, and seating arrangements when selecting the perfect spot to mount your TV. Be mindful of windows and doors, which can cause glare and disrupt enjoyment.
Some homeowners prefer center walls for symmetry, while others opt for corner mounts to save space. Corner mounts work particularly well in smaller rooms or when alternative wall options are limited. However, center walls commonly offer more stability, as they often consist of stronger support structures.
Anchor Selection and Installation
Choosing the right anchors is crucial, especially for textured walls. The correct anchors ensure the TV’s stability and prevent accidental falls or movement. Here at Utah TV Mounting, we use anchors tailored to specific wall textures, taking into account weight and makeup.
- Toggle Bolts: Perfect for heavier TVs, toggle bolts expand behind the wall, providing increased support and stability.
- Molly Bolts: These are optimal for medium-weight TVs, expanding within the wall to provide a firm hold.
- Expanding Anchors: Ideal for lighter TVs, expanding anchors offer reliable support on uneven surfaces.
- Self-Drilling Anchors: These are excellent for minimizing wall damage, requiring no pre-drilling and maintaining strength.
- Wall Studs: An essential option for any mount type; aligning with wall studs offers maximum security and peace of mind.
Measurement and Marking
Accuracy is paramount when it comes to measurement and marking. Misjudgment can lead to a crooked TV or even require rehanging, using precious time and resources. Start by measuring your TV’s VESA pattern, which is the universal pattern on the back of the TV, used to attach to mounts.
With these measurements in mind, determine where on the wall you’ll need to drill. Mark pilot holes using a pencil or painter’s tape to ensure easy correction without permanent marks. Remember to use a bubble or laser level to verify these markings are straight. Proper measurements are the backbone of a successful mount.
Drilling with Care
Drilling into textured walls may seem daunting, but the right approach makes it manageable. Use a masonry drill bit when working on concrete or brick walls for a clean, precise hole. If dealing with drywall, a regular wood or drywall drill bit will suffice.
Before starting, double-check the marked drill spots you set before. Start with a small pilot hole to guide the drill. Progressively increase the size to suit the anchor without exceeding the necessary depth. Patience and precision at this stage prevent unnecessary wall damage.
Mounting the TV Bracket
Now comes the moment of truth—mounting the TV bracket! With the brackets securely fastened, your TV is closer to offering the cinematic experience you deserve. It’s vital that brackets align with your previously prepared holes for optimal security.
Begin by aligning one side of the bracket with the holes, securing it with screws and a power drill. Double-check that everything is level before moving on to the other side. Keeping everything balanced avoids the slip-ups that could lead to skewed mounts.
Attaching the TV
With the bracket securely in place, it’s time to attach the TV. This task often requires two people, one to lift and position the TV, while the other ensures it engages correctly with the mount. Safety first—have one person hold the TV steady as the other secures it to the mount.
Once the TV is hung, tighten all screws and fasteners. Remember to follow manufacturer guidelines for both your TV and mounting system. Ideally, your TV should be flush against the wall with no tilt unless intended for best viewing angles. A stable, well-mounted TV ensures enjoyment for years to come.
Final Thoughts and Adjustments
Congratulations, you’ve successfully mounted your TV on a textured wall! Take this final moment to make any necessary adjustments, ensuring the picture is level and straight. Stand back, observe, and make minor tweaks as needed.
Our detailed guide serves to help make textured wall mounting accessible and straightforward. However, if you find the process overwhelming or wish to ensure professional quality, we’re here to help by phone at 801-383-0493 or you can Request a Free Quote.


