
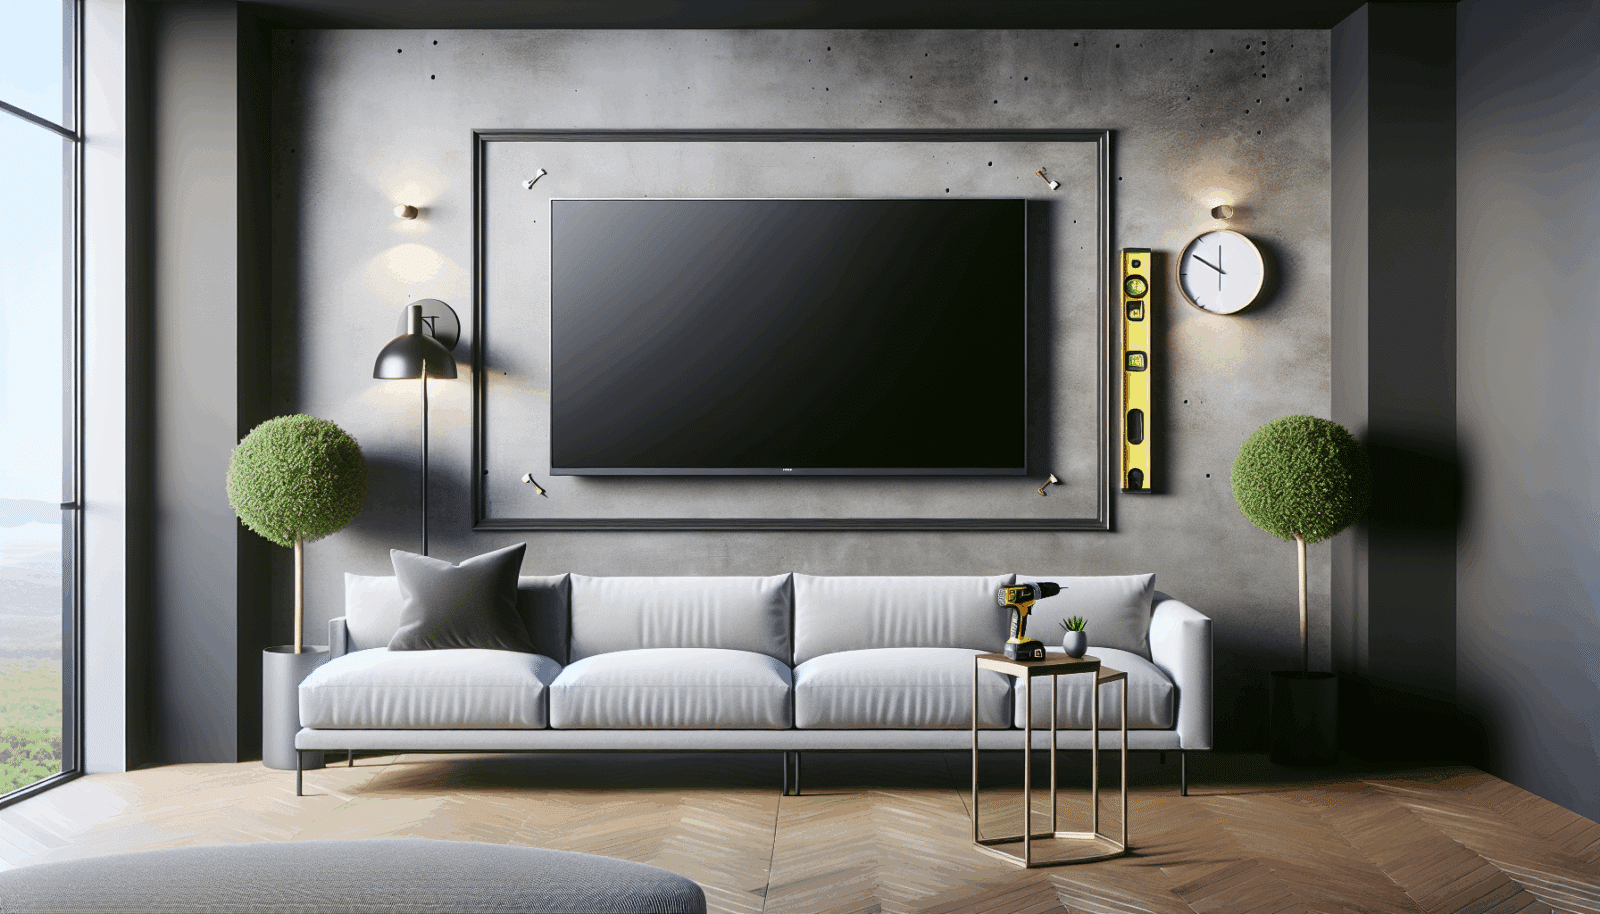
Use this checklist before drilling into a textured wall.
Confirm the wall assembly
Identify the finish, backing, framing, and any likely utilities. Texture can hide patched areas and make stud-finder readings less reliable. It cannot serve as the load-bearing material by itself.
Check plate contact
Hold the wall plate in place and look for rocking on high texture. Use only the mount manufacturer's approved method to create stable contact. Do not flatten the wall by overtightening fasteners.
Use a template
Low-tack tape and a paper or cardboard template make it easier to mark on uneven finishes. Confirm the center and height with the actual TV dimensions. Sony recommends using model-specific measurements and clearances rather than screen size alone.[1]
Match every layer of the system
Verify the television weight, VESA pattern, mount capacity, fasteners, and supporting structure. VESA compatibility only addresses the display interface.[2]
Dry-fit before the television comes near the wall
Hold the empty plate in position, verify that every approved fastener location reaches the intended support, and check that the plate does not bridge a ridge or grout line. Confirm where the television's power and signal connections will land. A low-profile mount can leave too little room for a stiff HDMI plug or recessed outlet, and discovering that after the screen is hung usually damages the finish twice.
Inspect the completed attachment
After the TV is locked onto the mount, verify every safety screw or latch, check that the plate remains flat, and move an articulating arm slowly through its full intended range. Watch for the wall surface flexing, cable strain, or hardware contact. Recheck the installation after the first few uses, especially when a full-motion arm is extended regularly.
Stop for brittle or unknown finishes
Old plaster, tile, stone veneer, and specialty panels may crack or conceal an unusual assembly. If the support path cannot be verified without destructive exploration, get the wall evaluated before proceeding. Keep a photo and finish sample so later repairs can match the original surface.
Sources
Manufacturer requirements and standards can change. Check the documentation for your exact television, mount, wall system, and room before installation.
- Sony wall-mount compatibility and dimension guidance (accessed September 21, 2026)
- VESA Flat Display Mounting Interface Standard (accessed September 21, 2026)