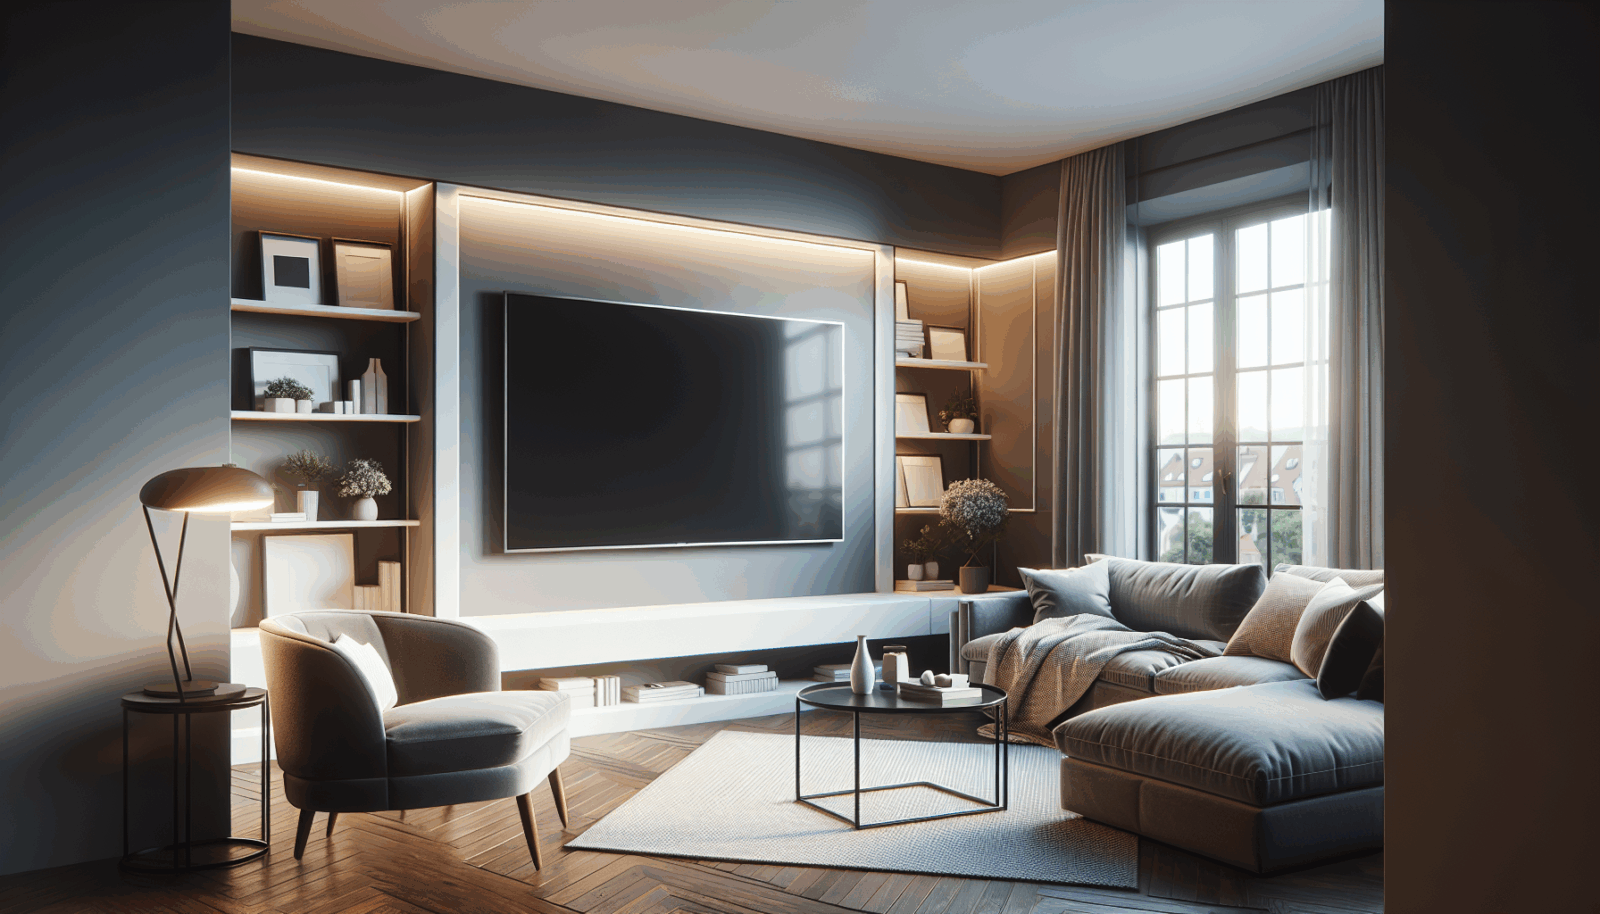
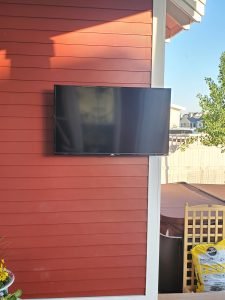
Mounting your TV in a corner is not just about saving space; it’s about optimizing your viewing experience while maintaining the style and integrity of your living space. At Utah TV Mounting, we understand the complexities and challenges this task presents. That’s why we’ve put together this comprehensive step-by-step guide to help homeowners like you achieve a seamless and aesthetically pleasing setup. With our expertise and your enthusiasm, let’s transform your TV viewing experience together.
Contents
- 1 Understanding the Benefits of Corner Mounting Your TV
- 2 Choosing the Right Mount for Your TV
- 3 Preparing for Installation
- 4 Marking and Drilling the Pilot Holes
- 5 Attaching the Mount Bracket to the Wall
- 6 Fastening the TV to the Mount
- 7 Organizing Cables for a Clean Setup
- 8 Adjusting for the Perfect Viewing Experience
- 9 The Final Touches
- 10 Let Utah Tv Mounting Help You
Understanding the Benefits of Corner Mounting Your TV
Before diving into the nitty-gritty of mounting your TV in a corner, let’s first explore why it’s a great idea. Corner mounting not only saves valuable floor space but also ensures an optimal viewing angle from multiple points in the room, enhancing your overall entertainment experience. Plus, it’s an innovative way to keep your TV safe from accidental bumps or knocks in high-traffic areas.
Moreover, corner mounting can significantly improve the aesthetics of your room. It allows for a sleek and modern look, keeping cables and wires neatly hidden, thereby giving your space a cleaner and more organized appearance. With the right mount and a little bit of planning, you can turn your TV corner into a functional and stylish focal point of your home.
Choosing the Right Mount for Your TV
Selecting the perfect mount is crucial for corner mounting your TV. The market offers various mounting options, including full-motion, tilting, and fixed mounts. Full-motion mounts provide the greatest flexibility, allowing you to adjust the viewing angle and distance to your liking. Tilting mounts, on the other hand, are ideal for adjusting vertical viewing angles, which is particularly helpful to reduce glare.
Consider the size and weight of your TV, as well as the compatibility of the mount. It’s essential to choose a mount that can not only fit the specific VESA pattern of your TV but also support its weight. Taking the time to select the right mount will ensure a secure and stable setup, giving you peace of mind and an enhanced viewing experience.
Preparing for Installation
Preparation is key to a successful corner mounting. Start by identifying the corner where you want to mount your TV. It’s important to consider the location of power outlets and cable connections to ensure your TV has access to power and any external devices it needs to connect to. You might need to use extension cords or consider installing new outlets closer to your desired location for optimal convenience.
Next, gather all the necessary tools and materials for the installation. Typically, you’ll need a stud finder, drill, screwdriver, level, measuring tape, and possibly a few other tools depending on your specific mount and setup. Having everything you need at arm’s reach will streamline the installation process and minimize the risk of mid-task disruptions.
Marking and Drilling the Pilot Holes
Locating the studs in your corner is an essential step as they will provide the support needed to hold the weight of your TV. Use a stud finder to locate the studs in your walls and mark their positions. It’s crucial to ensure your mount is securely fastened to at least one stud to prevent any accidents or damages to your TV.
Once you’ve identified the studs, hold the mount against the wall in the desired position and mark the Locations for the pilot holes. Then, using a drill, carefully create the pilot holes where you’ve made your marks. Make sure the holes are the correct size for the screws or bolts that came with your TV mount.
Attaching the Mount Bracket to the Wall
With the pilot holes drilled, you’re now ready to attach the mount bracket to the wall. Align the mount bracket with the pilot holes, and using a screwdriver or drill, secure it to the wall by tightening the screws or bolts into the studs. It’s important to ensure the bracket is perfectly level before fully securing it, as this will affect the leveling of your TV once mounted.
Once the mount is securely attached to the wall, give it a gentle tug to confirm it’s firmly in place. This step is essential to guarantee the safety of your setup. With the mount bracket now firmly attached, you’re one step closer to enjoying your perfectly positioned TV.
Fastening the TV to the Mount
Before attaching your TV to the mount, make sure to attach any necessary brackets or plates to the back of your TV as instructed by the mount’s manual. Depending on the mount, you might attach these components directly to the VESA mounting holes found on the back of your TV. Ensure these elements are tightly secured and correctly aligned.
With the help of another person, carefully lift your TV and align it with the mount bracket on the wall. Once in position, secure the TV to the mount according to the manufacturer’s instructions, which may involve tightening screws or snapping the TV into place. Ensure that the TV is secure and that there is no wiggle room.
Organizing Cables for a Clean Setup
An organized setup is key to maintaining the aesthetic appeal of your newly mounted TV. Begin by neatly arranging the cables and wires connected to your TV, using zip ties or cable clips to bundle them together and keep them tidy. This not only helps in reducing visual clutter but also prevents dust accumulation and potential damage to the cables.
Consider using a cable management system or raceways to conceal the cables as they run from your TV to the power outlet and other devices. These solutions can often be painted to match your wall color, seamlessly blending in and maintaining the sleek look of your corner-mounted TV setup.
Adjusting for the Perfect Viewing Experience
Once your TV is mounted and your cables are organized, take a moment to adjust the positioning of your TV for the best viewing experience. If you’ve opted for a full-motion or tilting mount, experiment with different angles to find what works best for the layout of your room and your typical viewing position. It might take a few adjustments to get it just right, but it’s worth the effort to ensure optimal viewing comfort.
Remember to consider factors like glare from windows at different times of the day and how the TV’s position affects viewing from different areas in the room. A little bit of tweaking now can significantly enhance your long-term enjoyment of your entertainment setup.
The Final Touches
- Inspection: Give your entire setup a thorough inspection. Check if the mount and TV are secure and if the cables are neatly organized and out of sight.
- Functionality Test: Turn on your TV and check all the connections. Make sure that everything is working properly, from the video display to the audio output.
- Cleaning: Wipe down your TV screen and the surrounding area to remove any fingerprints or dust accumulated during the installation process.
- Seating Arrangement: Adjust your seating arrangement if necessary. Ensure that your furniture is positioned for the best possible viewing experience, considering the new position of your TV.
- Enjoy: Finally, sit back, relax, and enjoy your favorite shows or movies on your newly mounted TV in the corner. Congratulations on completing your project!
Let Utah Tv Mounting Help You
If mounting your TV in a corner seems like a daunting task, or if you’re looking for professional assistance to ensure a perfect and safe installation, we’re here to help. Our team of experienced technicians specializes in TV mounting Services across our service areas. We’re dedicated to providing high-quality service and ensuring your TV is mounted securely and beautifully, enhancing your viewing experience.
Call us today at 801-383-0493 or Request a Free Quote. Let Utah TV Mounting take the hassle out of your TV installation project.


