Mounting your TV might seem like a daunting task, but it doesn’t have to be! At Utah TV Mounting, we understand the importance of a perfectly placed TV in enhancing your viewing experience. Whether you’re a movie buff, a sports fan, or someone who enjoys binge-watching series, this guide is crafted for you. Our tips and tricks are designed to make the process seamless, enjoyable, and more importantly, secure for homeowners across our service areas.
Contents
Choosing the Right Mount for Your TV
When it comes to mounting your TV, the first step is selecting the right mount. It’s crucial to consider the size and weight of your television, as well as the flexibility you desire for viewing angles. Fixed mounts are great for a streamlined look in rooms where you won’t need to adjust the TV’s position, while full-motion mounts offer the versatility to tilt and swivel the TV to your heart’s content. We recommend reviewing the specifications of your TV and comparing them to the mount’s capacity to ensure a perfect match.
Moreover, the choice of mount significantly affects your viewing comfort and room aesthetics. A well-chosen mount not only enhances your space but also minimizes neck strain by ensuring the TV is at the optimal viewing height and angle. Our team at Utah Tv Mounting is always ready to advise on the best mount for your specific needs and viewing habits.
Tools You’ll Need
Gathering the right tools before you start can save you time and prevent mishaps during the installation process. You will need a stud finder to locate the studs in your wall, a level to ensure your TV hangs straight, a drill for securing the mount to the wall, and the appropriate screws and anchors provided with your TV mount. Having a measuring tape on hand will also be incredibly useful for spacing considerations.
Don’t forget to read through the mounting instructions that come with your TV mount. Different mounts might require specific tools not mentioned here, so it’s best to be prepared. Utah TV Mounting professionals bring all the necessary equipment to every job, ensuring a smooth and efficient installation process.
Locating the Perfect Spot
Finding the perfect spot to mount your TV involves more than just picking a wall. It requires considering light sources to avoid glare, the layout of your furniture for comfortable viewing, and proximity to power outlets and cable connections. The ideal position is usually opposite the main seating area at eye level from your seated position, slightly lowering the chances of neck strain and enhancing the viewing experience.
Additionally, think about the aesthetics of your room. Your TV should complement your space, not overpower it. Measuring the space and using painter’s tape to outline the dimensions of your TV on the wall can give you a good visual of how it will look once mounted. Our team can help determine the most practical and visually appealing location for your TV, taking all these factors into account.
The Mounting Process
Once you have all your tools and have chosen the perfect spot, the actual mounting process begins. Start by using the stud finder to locate the studs in your wall. Marking these with a pencil will guide you on where to drill. It’s crucial to mount your TV to studs to ensure it’s securely attached to the wall. Following the instructions of your chosen mount, carefully measure and mark the drill points, ensuring they are level.
After drilling the pilot holes, attach the mounting brackets to the back of your TV, then attach the wall mount portion to your wall, making sure it’s secure. With a partner, carefully lift the TV onto the mount, ensuring it clicks into place. It’s a good idea to perform a pull test to make sure everything is secure. Remember, safety first – if you’re unsure at any step, it’s best to consult with or hire a professional like Utah TV Mounting.
Connection and Setup
With your TV mounted, the next step is to connect all your devices. Before hoisting your TV onto the wall mount, consider which devices you’ll be connecting and ensure that you have easy access to the ports once the TV is mounted. HDMI, power cables, and any other necessary cables should be connected to your TV before it’s mounted if accessing the ports will be difficult later.
After connecting, tidy up any loose cables with zip ties or cable management tools for a clean, organized look. This not only improves aesthetics but also prevents accidents and keeps cables in good condition. Finally, power on your TV and follow any setup procedures as per the manufacturer’s guidelines. Adjust the settings to your liking, and you’re ready to enjoy your newly mounted TV!
Decorating Around Your Mounted TV
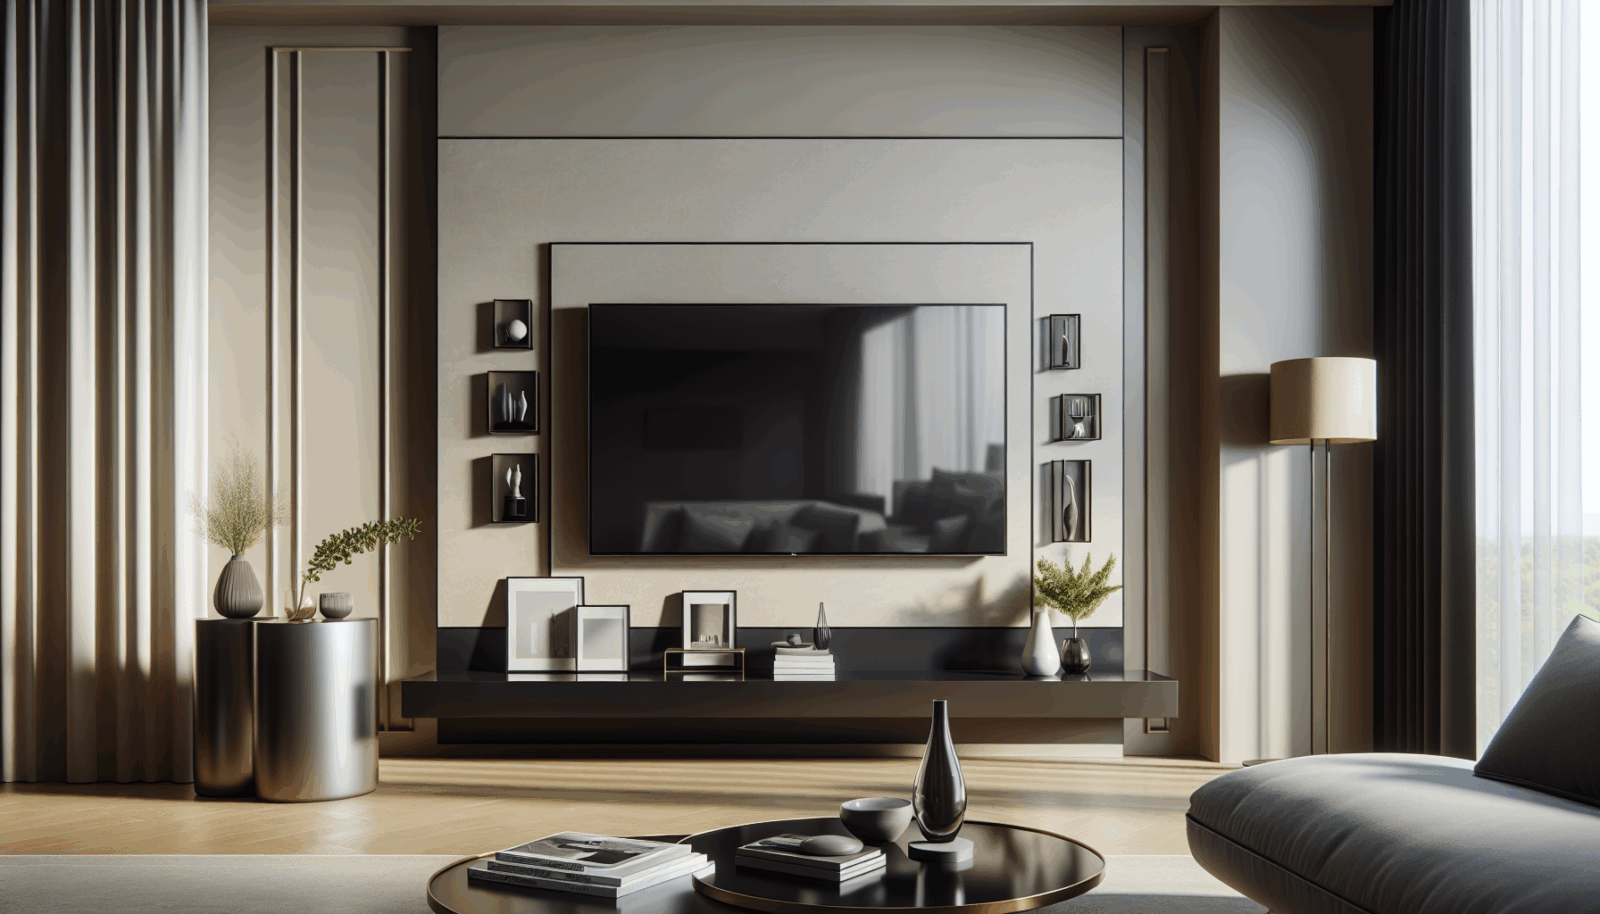
Now that your TV is mounted, consider how you want the space around it to look. Mounted TVs can serve as the focal point of a room, and decorating around them can enhance your living space’s aesthetic. Consider adding a console table or shelves below the TV for media storage, or frame your TV with floating shelves to display decor and personal items.
Artwork or photographs can also be arranged around the TV to integrate it into your decor, making it feel like part of the room rather than just a screen on the wall. Keep the area uncluttered and balanced for the best visual impact. Our team loves seeing how our clients personalize their spaces around their mounted TVs!
Maintaining Your Mounted TV
- Cleaning: Regularly dust your TV screen and frame with a microfiber cloth. For smudges, use a screen-safe cleaner and avoid spraying directly onto the screen.
- Inspection: Periodically check the mount and wall bracket to ensure everything is secure. Look for any signs of wear or loose screws.
- Cable Management: Maintain organized cables to prevent damage and keep your setup looking neat. Consider updating your cable management system as you add or remove devices.
- Software Updates: Keep your TV’s software up to date to enjoy the latest features and security patches. These updates can often improve your TV’s performance and interfacing capabilities.
- Professional Help: For any issues beyond your expertise, don’t hesitate to contact professionals like Utah TV Mounting. Whether it’s remounting, relocating, or troubleshooting, we’re here to help.
The Perks of Professional Installation
While DIY TV mounting is doable, hiring a professional service like Utah TV Mounting offers several advantages. Our team is equipped with the right tools, knowledge, and experience to handle any installation efficiently and securely. We ensure that your TV is mounted perfectly, optimizing your viewing angle and enhancing your room’s overall look.
Additionally, we offer peace of mind by handling the complexities of the installation, from finding studs and drilling into the wall safely to managing cables and connections. Our professional installation leaves no room for errors, avoiding potential damage to your TV or wall. Let us take care of the heavy lifting, so you can sit back, relax, and enjoy your favorite shows in no time.
FAQs
Can I mount my TV on drywall? Yes, you can mount your TV on drywall, but it’s crucial to anchor it into the studs behind the drywall for stability.
How high should I mount my TV? The optimal height for mounting your TV is eye level from your seated position. This usually means the center of the TV should be approximately 42 inches above the floor, but personal preference and room layout can affect this.
Conclusion
Mounting your TV can greatly improve your viewing experience and add a stylish element to your home decor. By following these tips and tricks, you’re well on your way to enjoying your favorite movies, shows, and sports in comfort and style. Remember, if you’re in our service area and prefer a hassle-free, professional installation, don’t hesitate to reach out.
Utah TV Mounting is here to help. Connect with us by phone at 801-383-0493 or Request a Free Quote today for professional TV mounting Services that guarantee satisfaction and peace of mind.


