
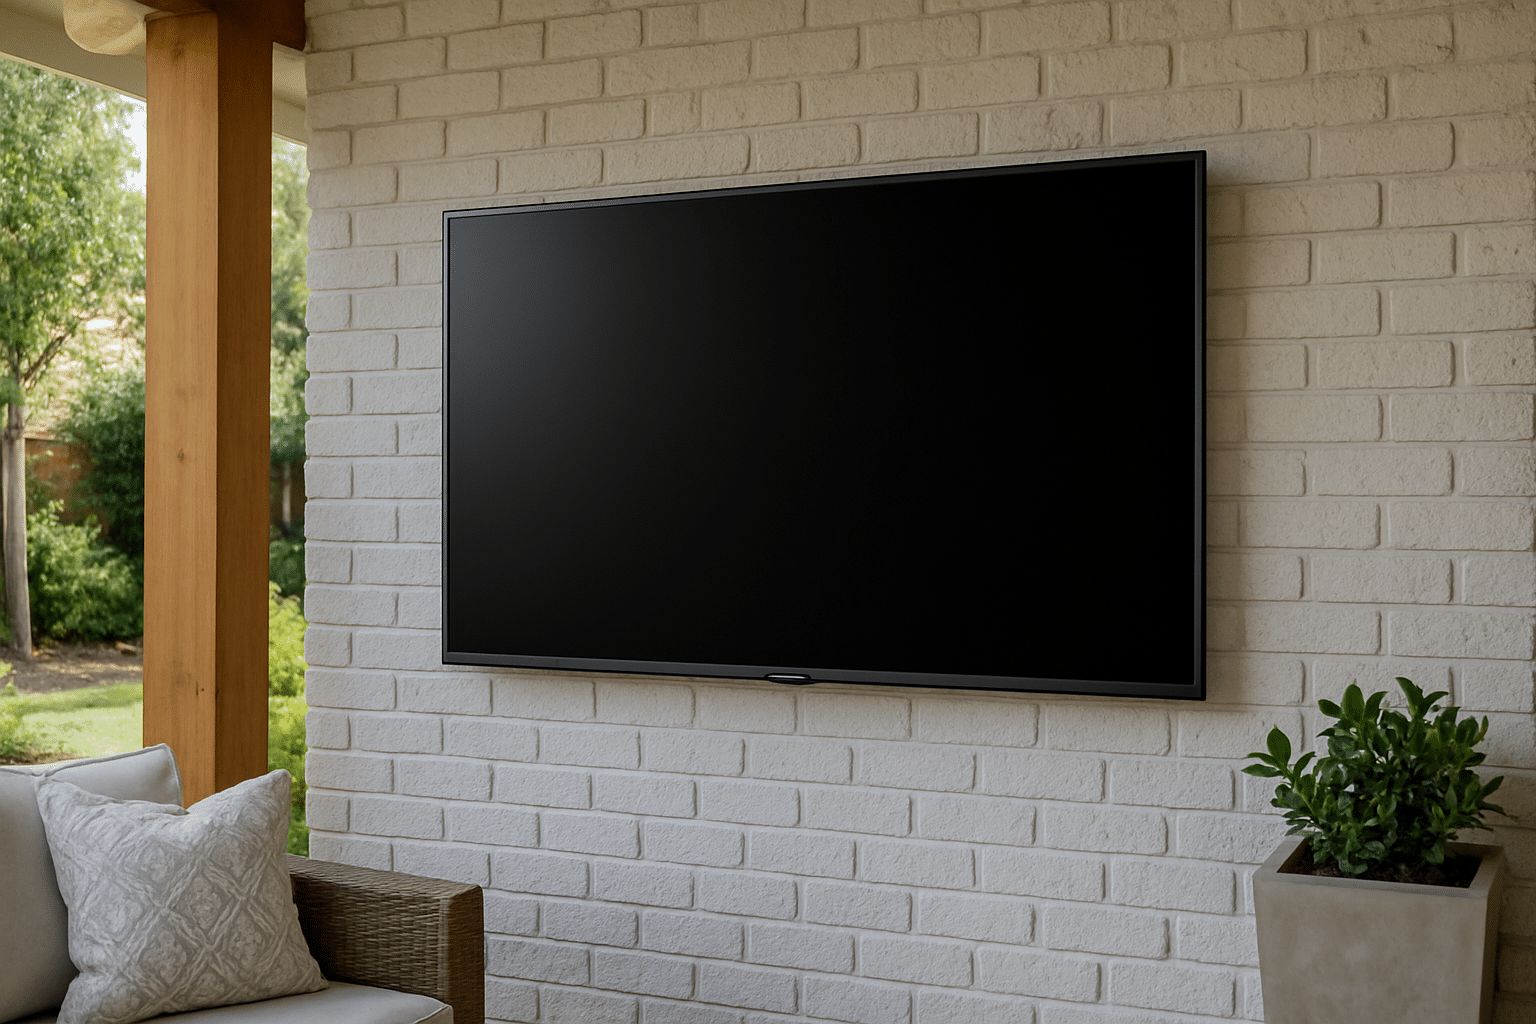
Outdoor movie nights, Sunday football on the patio, or simply enjoying background shows while you grill, mounting a television outside changes how you use your yard. For Salt Lake City homeowners, there’s an extra layer to think about: sun, snow, and sudden weather swings that can turn a comfy setup into a cracked screen if you’re not careful. This guide walks you through outdoor Tv Mounting step by step, clear, practical, and friendly, so you can do it yourself, or at least know what questions to ask when a pro shows up.
Why mount an outdoor TV (and who this is really for)
Let me explain: this is for homeowners who love their outdoor space. Maybe you host summer backyard parties near Liberty Park, or maybe you want a cozy viewing spot for winter nights on the porch near the foothills. Mounting a TV outside isn’t just about the bracket; it’s about choosing the right spot, protecting the gear, and making sure every viewing angle is great.
Honestly, some folks think any wall will do. Not true. You’re dealing with UV, moisture, temperature swings, and often masonry or stucco, common in SLC neighborhoods. So whether you’re handy with a drill or you call yourself “enthusiastic weekend DIYer,” this piece helps you avoid rookie mistakes and feel confident about the result.
What you’ll need (short list, don’t panic)
you don’t need a truckload of gear, but you’ll want the right tools and parts. Having the correct items up front saves a lot of sweat later.- Tools: stud finder, level, power drill with masonry and wood bits, socket set, tape measure, and a helper (two people are better than one).
- Mounting hardware: exterior-rated TV mount (tilt or full-motion depending on preference), stainless steel lag bolts or anchors, and washers.
- Weatherproofing: silicone sealant, outdoor-rated cable conduit, and a weatherproof cover or enclosure if you’re in a harsh spot.
- Electrical: GFCI protected outlet (required), outdoor-rated extension or in-wall wiring conforming to code (call an electrician if unsure).
Brands and tools I often see: a Bosch drill, Milwaukee sockets, Sunbrite or Samsung Terrace TVs for outdoor-specific sets, and Leviton GFCIs. Nothing fancy, just reliable stuff.
Step-by-step: Mounting your outdoor TV
Okay, here we go. I’ll keep it direct, but I’ll also toss in a few little tips most people don’t think about.
1. Pick the location
Think about sun and viewing angle first. Direct sunlight can wash out images, so a shaded spot (or an east-facing wall for afternoon shade) usually wins. You might think higher is safer from kids and pets; sometimes that makes viewing uncomfortable. Aim for eye level from your main seating area, about 42 to 48 inches from the ground to the center of the screen is a good starting point.
Also check the wall type. Wood studs are ideal; masonry requires anchors and masonry bits. Use a stud finder and verify with a small pilot hole, don’t just trust electronics alone.
2. Choose the right mount
There are three main types: fixed, tilting, and full-motion. Fixed mounts keep the set flush and tidy; tilt mounts let you angle the screen down for better viewing in bright light; full-motion gives the most flexibility if you move seating around. For most patios, a tilting mount is the sweet spot, simple but forgiving.
| Type | Best for | Quick note |
|---|---|---|
| Fixed | Clean look, limited glare | Lowest profile; limited adjustability |
| Tilting | Patios with sun issues | Great compromise; easier to install |
| Full-motion | Versatile seating areas | Heavier install; more moving parts |
3. Secure the mount to the structure
Here’s where technique matters. For wood studs, use long stainless steel lag bolts that bite fully into the stud. For masonry or stucco, you’ll need sleeve anchors or concrete screws; pre-drill with the right masonry bit and clean the hole before inserting the anchor. Level the mount, mark holes precisely, and tighten snugly, but don’t strip anything. If you hear splitting or feel weak resistance, stop and reassess.
Think of studs like the bones of your home; you want hardware that holds to bone, not just skin.
4. Weatherproofing and wiring
Once the mount is up, protect the electronics. Run cables through a conduit or use exterior-rated cabling. Seal any holes where screws or cables pass through with exterior silicone to keep moisture and pests out. For power, a GFCI outlet is essential. Honestly, if you aren’t comfortable running in-wall wiring to code, hire an electrician. The few bucks you spend now save a lot of headaches and safety risks later.
5. Hang the TV and fine-tune
With two people, lift the TV, hook it to the mount, and secure the safety bolts. Check tilt, swivel, and level again. Turn it on and look for glare, reflections, and color washout. Angle the screen slightly downward if sunlight hits it. Adjust audio, outdoor speakers or a soundbar rated for outdoor use can make a huge difference; built-in TV speakers rarely fill a backyard.
Common mistakes people make (so you don’t)
People make the same errors over and over, and it’s almost endearing until your TV gets wet. So here are the usual suspects:
- Mounting to the wrong surface: drywall or thin siding won’t hold a heavy TV.
- Ignoring weatherproofing: a small gap becomes a leak after one freeze-thaw cycle.
- Skipping GFCI protection: dangerous and non-compliant with local code.
- Choosing wrong viewing height: too high causes neck strain; too low looks awkward.
Some of these sound obvious, but they’re the things that trip up enthusiastic DIYers. A little patience and the right anchor choice go a long way.
Seasonal care and maintenance
Salt Lake City’s seasons can surprise you, hot, sunny summers and snowy winters. Wipe the screen regularly with a microfiber cloth and mild screen cleaner. Check the mount hardware annually for corrosion or looseness, and reapply silicone if sealants crack. If you use a cover, make sure it breathes; a trapped condensation can be worse than no cover at all.
One mild contradiction: leaving a TV uncovered can be risky, but covering it with improper materials can trap moisture, so choose breathable, outdoor-rated covers or an enclosure with venting.
When to call a pro (and when you can DIY)
If you’re comfortable with drilling into studs, measuring precisely, and following local electrical codes, you can definitely handle this project. But call a professional when:
- You’re dealing with masonry or stucco: those drywall tricks don’t apply.
- Electrical work is required: GFCI outlets and buried wiring require permits and expertise.
- Weight and mounts are complex: very large screens or multi-arm full-motion mounts can be tricky.
Utah TV Mounting specializes in outdoor installations across Salt Lake City, from small porches to full backyard theaters. We handle permits, electrical hookups, and can recommend the right outdoor-rated TV if you need one. If you want to save time and avoid mistakes that cost more later, getting a pro is sensible.
Ready to make your outdoor space come alive?
If this sounds like a lot, and it can be, we’re here to help. Whether you want a straightforward installation or a full outdoor entertainment setup, give Utah TV Mounting a call. We know Salt Lake City roofs, patios, and local codes; we’ve mounted TVs on stucco, brick, and the occasional cedar-clad wall. You’ll get clean work, weatherproofing that lasts, and honest advice.
Call us: 801-383-0493
Let’s make your patio the place to be this season. Whether it’s football, movies, or background ambiance, get it done right.