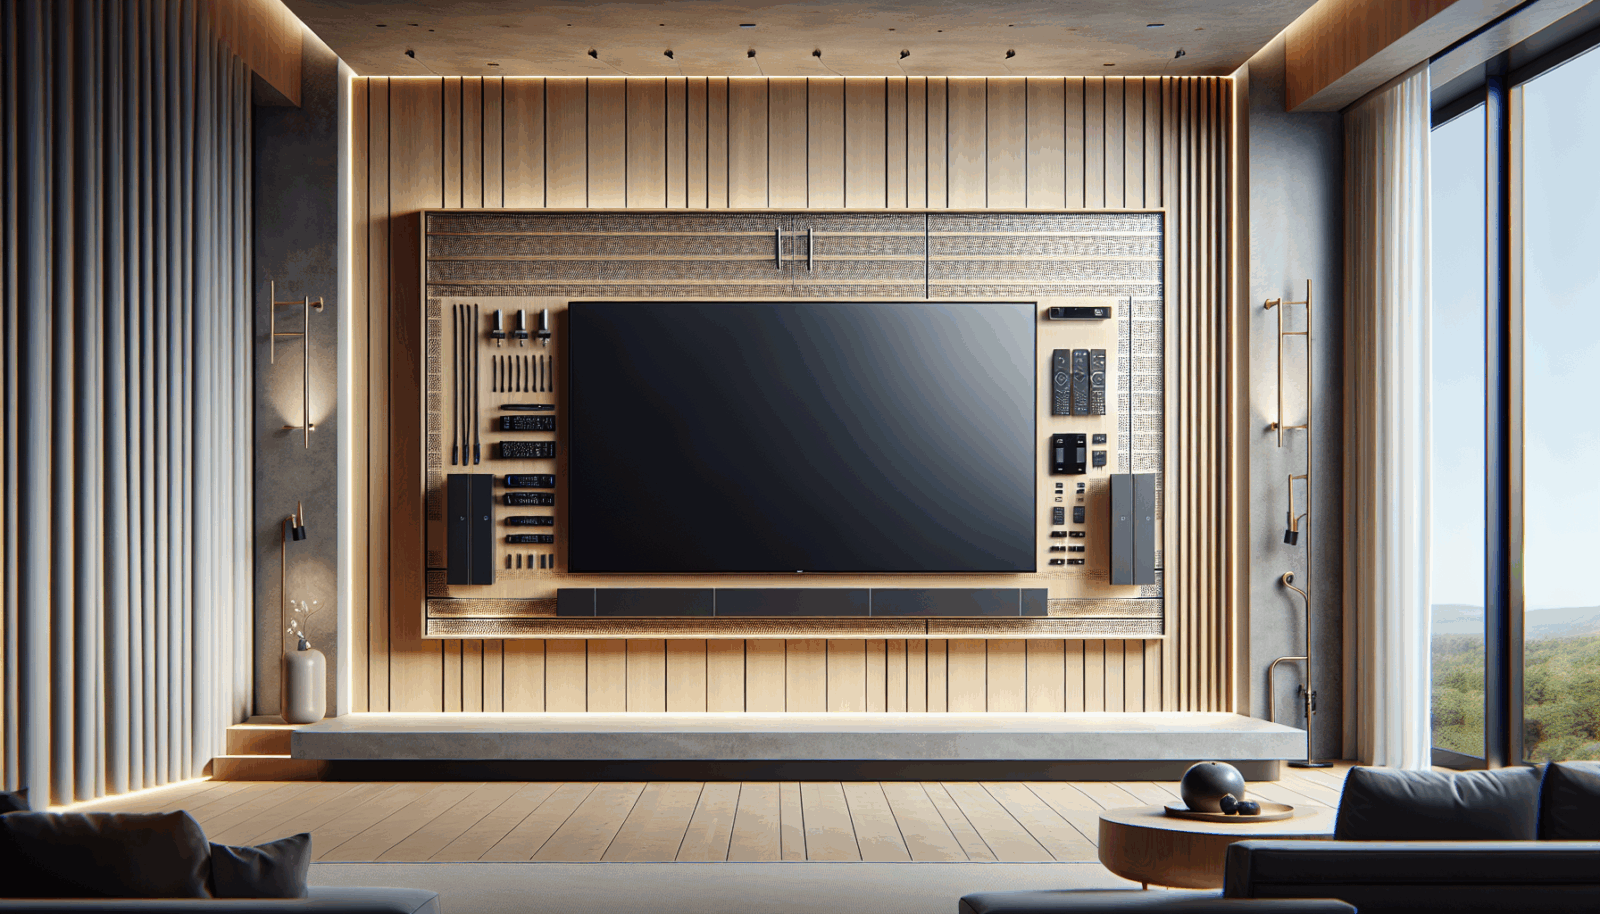
Looking to install your TV wall mount like a pro? At Utah TV Mounting, we understand the common struggles of dealing with complex installations, which often make homeowners hesitant to take on the task. But fear not, this guide is crafted to simplify the process, helping residents like you transform their living spaces with confidence. With expert tips and tricks, you’ll be mounting your TV like it’s second nature.
Contents
- 1 Choosing the Right Mount for Your TV
- 2 Gathering Your Tools and Materials
- 3 Finding the Perfect Spot on the Wall
- 4 Marking and Measuring with Precision
- 5 Drilling Holes Safely and Securely
- 6 Attaching the Mount to the Wall
- 7 Connecting the Mount to the TV
- 8 Adjusting and Calibrating Your Setup
- 9 Troubleshooting Installation Challenges
- 10 Why Choose Professional Installation?
Choosing the Right Mount for Your TV
Selecting the right wall mount is the first crucial step in creating your perfect entertainment setup. Not all mounts are created equal, and your choice should accommodate your TV size, weight, and viewing needs.
Diving into mount types, you’ll encounter fixed, tilting, and full-motion options. With each presenting unique benefits, understanding them will guide your decision. Fixed mounts are ideal for simplicity, while tilting mounts offer a better viewing angle. Full-motion mounts are perfect for those desiring maximum flexibility.
Gathering Your Tools and Materials
Preparation is key to success, and having the right tools on hand will make all the difference. Invest some time in gathering a stud finder, drill, level, measuring tape, and suitable screws.
Ensuring that you have all the necessary components can save you from unnecessary headaches mid-installation. An overlooked tool can delay your project and create unnecessary frustration.
Finding the Perfect Spot on the Wall
Now that you’re equipped with the basics, it’s time to determine where to mount your TV. Take into account factors like seating arrangement, sunlight exposure, and height.
Only proceed once you’re satisfied with the spot. Test different perspectives and angles, and consider how the location fits into the room’s overall aesthetic.
Marking and Measuring with Precision
Accuracy is your best friend when beginning the installation process. Use your measuring tape and level to ensure everything is exact and aligned.
Mark the spots on the wall where the mount will attach. Make sure these marks are done carefully, as they influence the final alignment of your TV.
Drilling Holes Safely and Securely
Drilling into your walls can be daunting, but it’s nothing to fear with the right approach. Confirm measurements and begin with a pilot hole to guide your drill.
If hitting a stud, you’ve struck mounting gold. Should you miss, utilize anchors to secure the mount safely to the drywall.
Attaching the Mount to the Wall
Here’s where things start taking shape. With your mount and wall ready, align the bracket with your pre-drilled holes.
Secure the mount to the wall, ensuring it’s level before fully tightening the screws. This guarantees stability and longevity for your setup.
Connecting the Mount to the TV
With the mount attached to the wall, it’s time to focus on your TV. Locate the mounting holes on the back and affix the bracket.
Take care when lifting your TV to attach it to the mount, ensuring the screen remains safe and unharmed during the process.
Adjusting and Calibrating Your Setup
Ensuring your TV is positioned for optimal viewing is where your initial diligence pays off. Adjust your TV on the mount and verify the tilt and angle meet your preference.
Also, consider calibrating picture settings once mounted to achieve the best possible display quality from your sitting area.
Troubleshooting Installation Challenges
Every installation is unique, and occasionally challenges arise. Here are some common hurdles and tips on addressing them:
- Misaligned Bracket: This occurs if holes are improperly marked. Double-check your measurements and adjust as necessary.
- Loose Screws: Always verify screws are tightened correctly. Use a screwdriver for additional torque if needed.
- Wall Surface Issues: If the drywall is weak, consider alternative positions or additional anchoring support.
- Wiring Concerns: Ensure power and HDMI cables are accessible and organized to avoid stress.
- Mount Doesn’t Fit: Confirm compatibility before purchase. If you encounter this, you may need to exchange for the correct size.
Why Choose Professional Installation?
While DIY mounting can be rewarding, sometimes professional help ensures a perfect, stress-free result. Hiring professionals like us at Utah Tv Mounting offers peace of mind and efficient service.
We understand every nuance of TV mounting and can quickly resolve issues that may have taken you hours. Plus, professional installation often guarantees added security and precision.
Consider these expert tips and tricks to overcome common challenges and simplify your TV mounting project. If you find the task daunting, remember Utah TV Mounting is here to assist. Contact Us by phone at 801-383-0493, or Request a Free Quote today.


