At Utah TV Mounting, we know that installing a TV mount can seem intimidating. Many homeowners worry about damaging their walls or finding the right spot. Fortunately, we’re here to guide you through the process step-by-step, ensuring a safe and secure installation that enhances your viewing experience. Let’s get started!
Contents
Gather All Necessary Tools
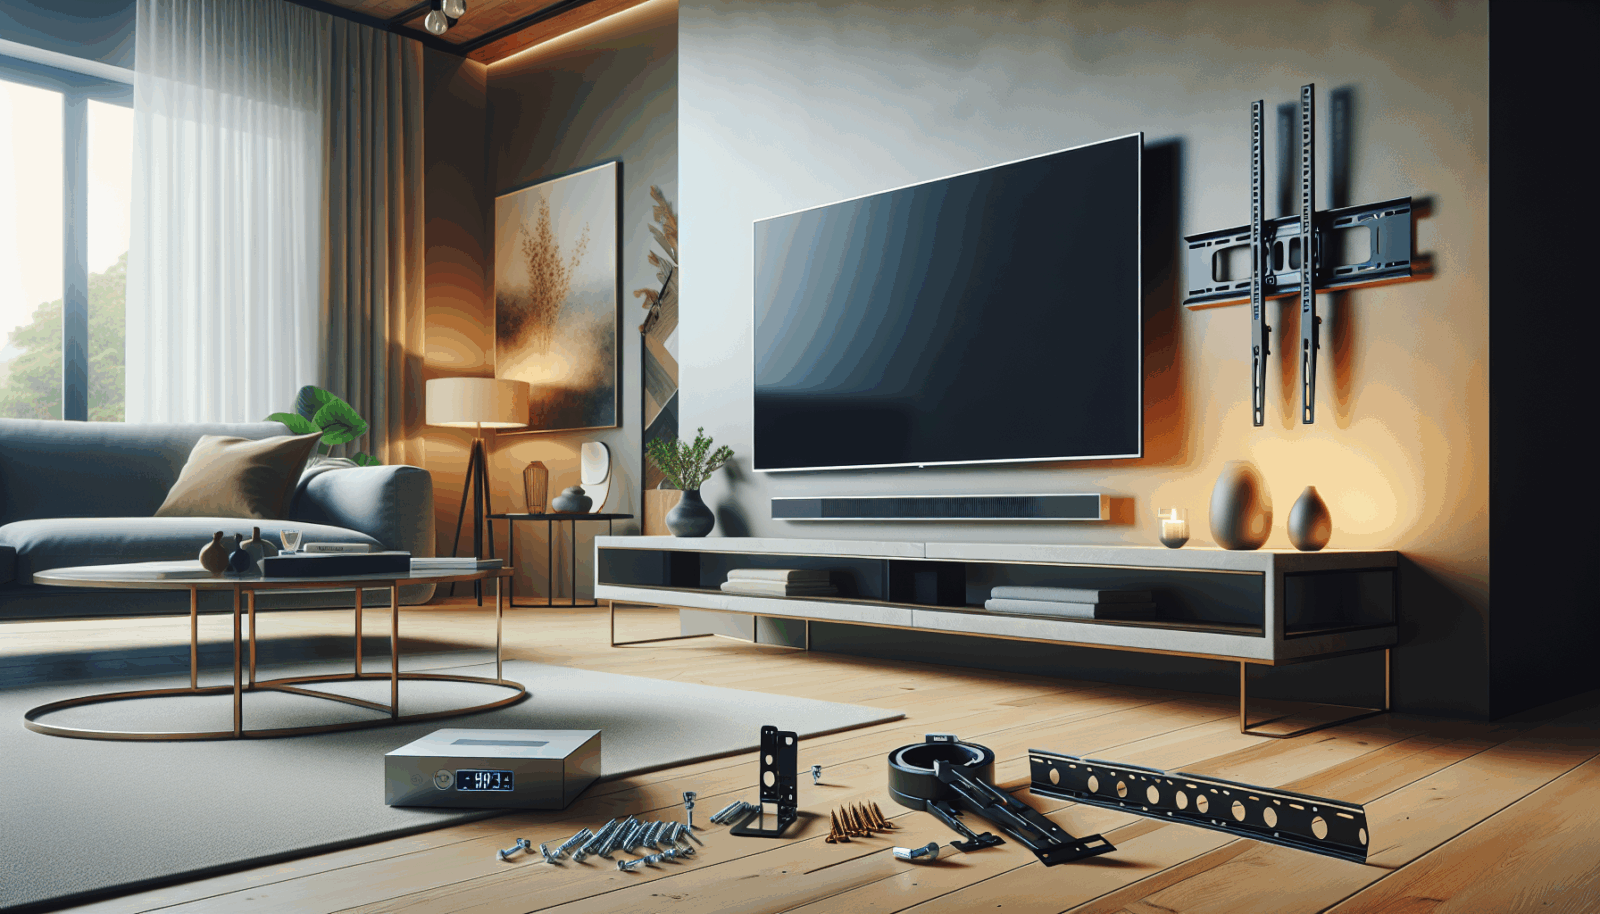
Before beginning the installation process, it’s essential to gather all the necessary tools. This will not only save you time but also make sure you are fully prepared. Typically, you will need a screwdriver, a drill, a level, a measuring tape, and the TV mount kit.
Checking your TV mount kit for all the included components is also crucial. Missing parts can stall your project, causing unnecessary delays and frustration. Make sure everything is ready and within reach.
Find the Perfect Spot on the Wall
Choosing the right spot for your TV is very important. Consider factors like height, viewing distance, and wall space. Ensure that the chosen area can support the TV mount and provides a comfortable viewing experience from your favorite seating areas.
Use painter’s tape to mark various potential spots and sit in your usual spots to gauge if the height and angle feel right. This practical approach helps in making an informed decision on the ideal location.
Locate Wall Studs
Your TV will need to be anchored to the wall studs to ensure a secure and safe installation. Using a stud finder, locate the studs in the chosen section of the wall. Mark these spots with a pencil for accuracy.
Make sure that your markings are level and aligned with the TV mount brackets. This is essential for the stability and evenness of the mounted TV.
Mark the Mounting Holes
Hold the TV mount against the wall in its desired position. Use a level to ensure it is straight, then mark the positions of the mounting holes on the wall with a pencil. Double-check your markings to avoid mistakes.
It’s easier to correct pencil marks than drill holes, so take your time to ensure accuracy. Align the mount perfectly to prevent any issues during the installation process.
Drill Pilot Holes
Drill pilot holes where you’ve marked the mounting holes. This step is vital as drilling directly into the wall can cause cracking or other damage. Pilot holes guide the screws and reduce stress on the wall.
Ensure the drill bit size matches the screws provided in your TV mount kit. This ensures a snug fit and solid anchoring when you install the mount.
Attach the Mount to the Wall
With the pilot holes drilled, it is now time to attach the wall mount. Line up the mount with the pilot holes and begin securing it with the screws. Make sure to tighten them adequately, but avoid over-tightening which can strip the screws.
Using a level again, check for straightness before fully securing the mount. This step ensures that the TV will sit evenly once mounted.
Secure the Mounting Bracket to Your TV
Next, secure the mounting bracket to the back of your TV. Each TV model may have slightly different mounting points, so refer to your TV’s manual for specifics. Attach the bracket using the screws provided with the mount kit.
Ensure that the bracket is tightly secured to avoid any wobbling or instability. It’s a good idea to lay the TV flat on a soft surface like a bed or carpet to avoid scratching or damaging the screen while working.
Double-Check All Connections
Before lifting and mounting the TV, it’s crucial to double-check all your connections. Ensure that screws are tight and nothing is loose. This is a vital step to ensure the overall safety of your set-up.
Having someone else to assist can be very helpful. They can hold the mount or TV while you make final adjustments and checks, ensuring everything is optimal and secure.
Mount the TV
With all checks in place, it’s time for the big moment. Carefully lift the TV and attach it to the wall mount. Make sure that both hooks (or mounting points) are securely latched onto the mount.
Again, having a second person can be invaluable here. They can hold the TV as you secure it, making the process easier and safer for everyone involved.
Check for Stability
After the TV is mounted, give it a gentle shake to ensure it is securely attached. It should feel solid with no wobbles or give. This quick check can help identify any potential issues before they become problems.
Finally, step back and admire your work! Your TV is now securely mounted, providing optimal viewing and enhancing the aesthetics of your room.
Common Mistakes to Avoid
Here are some common mistakes people make when mounting a TV. Avoiding these can save you from frustration and potential damage.
- Not Using a Level: An uneven mount can ruin the whole setup and make your TV look crooked.
- Over-Tightening Screws: This can damage both your wall and the mount itself, leading to a less secure setup.
- Ignoring Weight Limits: Exceeding the weight limit of your mount can result in catastrophic failure.
- Skipping Pilot Holes: Drilling without pilot holes can crack your wall, making the entire setup unstable.
- Mounting Too High: Ensure the TV is at eye level to avoid neck strain and ensure a comfortable viewing experience.
Ready for a professional touch? Call us at 801-383-0493 or Request a Free Quote today!


