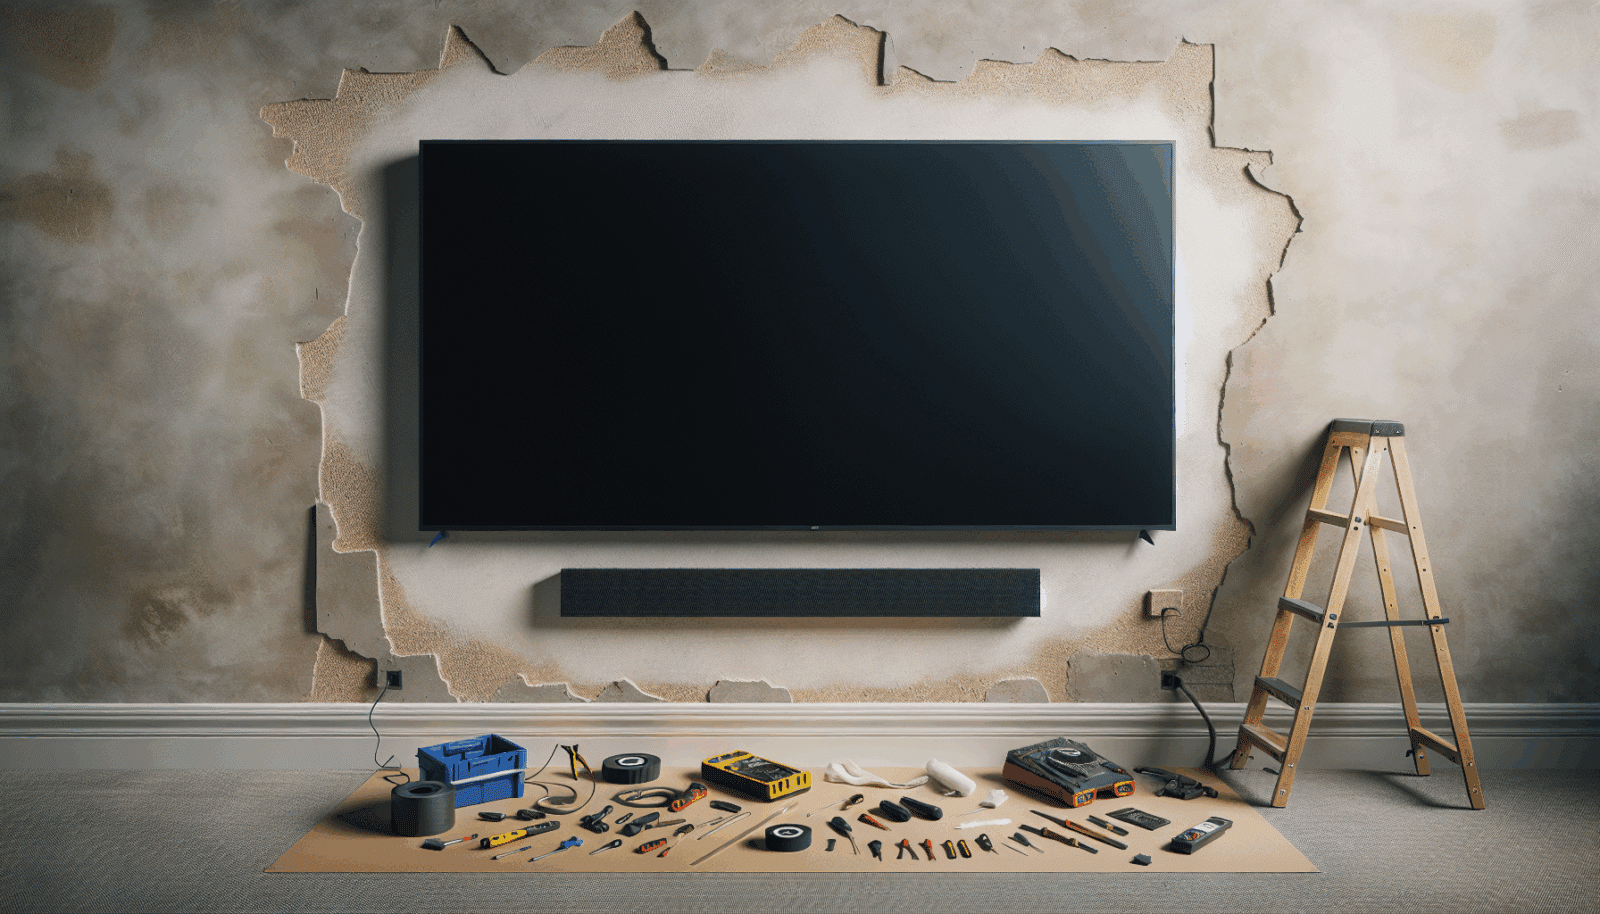
At Utah TV Mounting, we know that mounting a TV on textured walls can seem like a daunting task for many homeowners. Uneven surfaces present unique challenges, yet achieving a sleek, modern look is entirely possible. Our comprehensive guide offers step-by-step instructions to help you navigate this project smoothly. Whether you’re a DIY enthusiast or a cautious beginner, this article is designed with you in mind.
Contents
Understanding Your Wall Type
Before you dive into mounting your TV, it’s crucial to understand the type of textured wall you have. Different textures require different approaches. Is your wall lightly textured, or does it have a more pronounced finish? Knowing these details helps in choosing the right tools and techniques.
For instance, a lightly textured wall may not require additional support, but a heavily textured one might. Each wall type presents its challenges and unique solutions.
By understanding your wall type, you’re already one step closer to a successful installation. Trust us, this knowledge will come in handy.
Choosing the Right Mount
Selecting the perfect mount is essential for a secure and aesthetically pleasing result. Consider the weight and size of your TV when choosing a mount. You want one that’s robust yet matches your home’s style.
Flat mounts work well for limited spaces, while swivel mounts offer more flexibility. However, textured walls bring another layer of complexity, making stability a key concern.
Always ensure that your chosen mount can handle the nuances of a textured surface. This ensures your TV sits securely and seamlessly against the wall.
Gathering the Necessary Tools
Before beginning any project, gathering the right tools is vital. This ensures a smooth process, minimizing frustration.
- Stud Finder: Vital for locating studs behind textured walls. Proper anchoring provides the support your TV needs.
- Level: Ensures your TV is mounted straight, preventing a crooked appearance that could ruin the room’s symmetry.
- Drill and Drill Bits: Essential for creating holes in the wall where screws and anchors will be placed. Choose bits that match your wall’s density.
- Screwdriver: Used to secure the mount into place. Opt for a power screwdriver for heavier installations.
- Mounting Hardware: Includes bolts, screws, and anchors specific to your wall type and mount. Having the right hardware makes all the difference.
Marking the Wall
Once your tools are ready, it’s time to mark the wall. Use a pencil to indicate where the mount will go. This step ensures precision and helps avoid unnecessary drilling.
Begin by measuring and marking the desired height. A common mistake is placing the TV too high, resulting in neck strain.
By carefully marking, you prepare for a smoother installation, reducing the chance of errors.
Locating Studs
A critical part of the mounting process is finding the studs. These provide the necessary support for your TV, especially on textured walls.
Use a stud finder to locate the studs behind your wall’s surface. Mark their positions clearly.
Mounting the bracket directly onto studs ensures maximum stability, preventing costly mishaps.
Drilling the Holes
With your spots marked and studs located, it’s time to start drilling. This step requires precision and patience.
Drill at a slow speed to avoid damaging the textured surface. The goal is a clean, precise hole.
Double-check your measurements before drilling. A wrong hole placement can lead to unsightly repairs.
Installing the Mount
Now comes the exciting part—mounting the bracket! Carefully align it with your drilled holes and begin securing it in place.
Use your level to ensure the bracket is straight. Even the slightest tilt can be noticeable once the TV is mounted.
This step solidifies the foundation for your TV, determining both the look and function of your setup.
Attaching the TV
With the mount securely in place, it’s time to attach your TV. This step requires careful handling and attention to detail.
Follow the manufacturer’s instructions closely for this part. Different TVs may have varying attachment methods.
Once attached, step back and admire your work—a perfectly mounted TV on a textured wall!
Adjusting and Testing
Finally, you’ll want to make any necessary adjustments and test your setup. This ensures everything is functioning as intended.
Check the swivel, tilt, and stability, if applicable. Make sure all cables are connected and tucked neatly away.
Your efforts pay off when everything is aligned, secure, and working as it should. Enjoy your sleek new setup!
Conclusion
Mounting a TV on textured walls doesn’t have to be intimidating. With our guide, you now have the knowledge and confidence needed to tackle this project. For professional assistance, call us at 801-383-0493 or Request a Free Quote.


