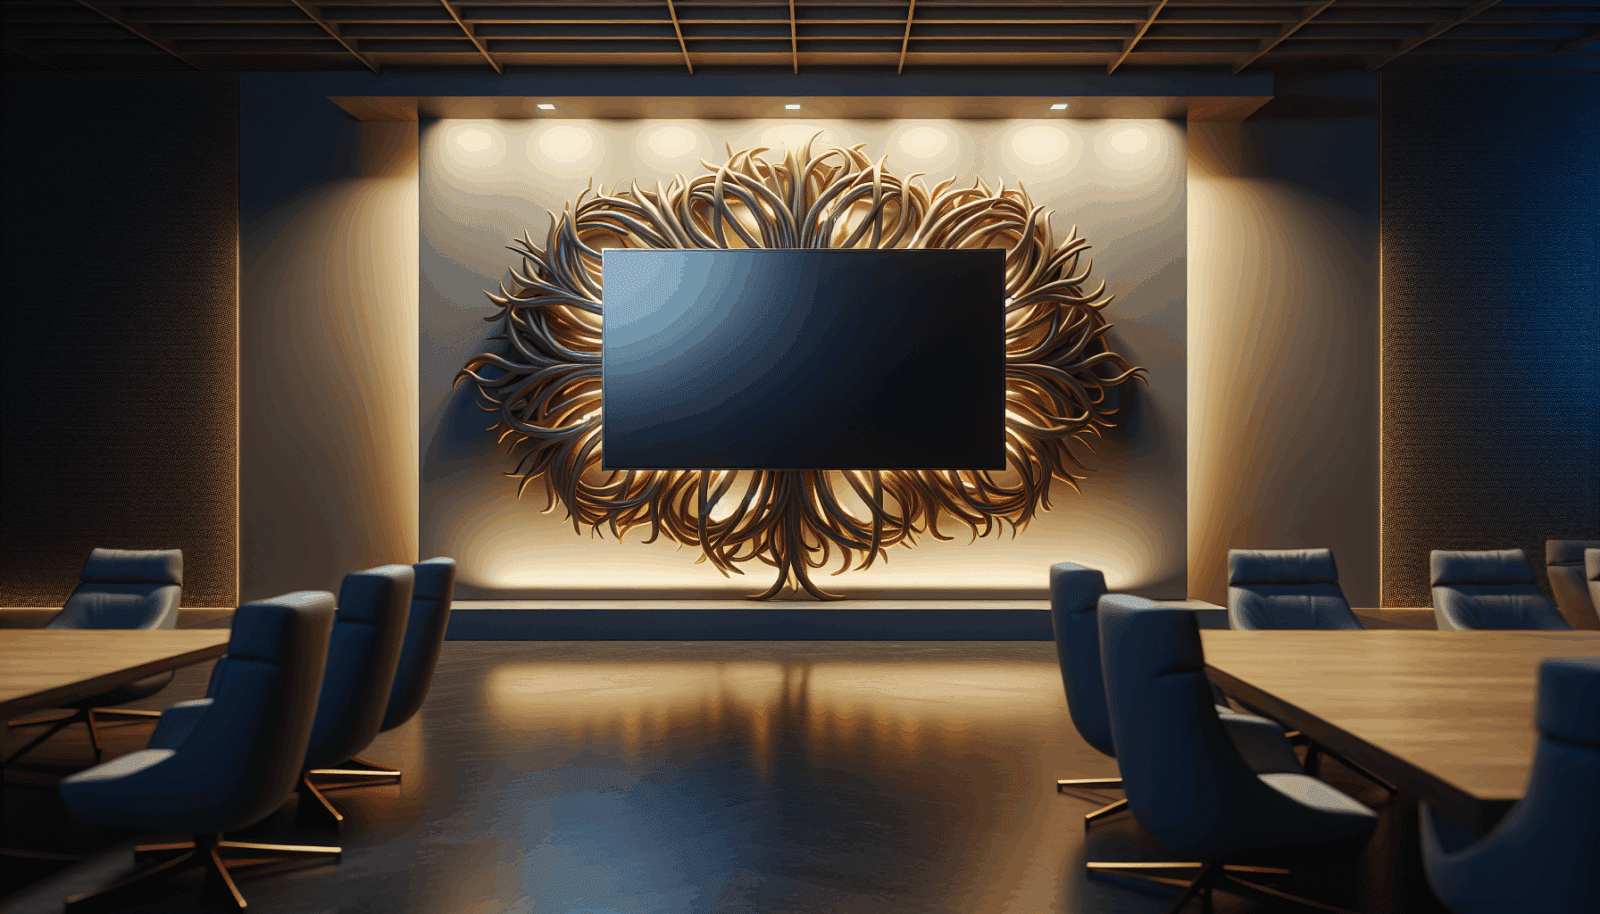
Installing a commercial TV system can be challenging, especially without the right knowledge or tools. At Utah TV Mounting, we aim to make this process simple and straightforward. This guide is perfect for businesses looking to upgrade their viewing experience while saving time and avoiding common pitfalls. Let’s dive into the steps involved in installing a commercial TV system.
Contents
- 1 Gather Your Tools and Equipment
- 2 Choosing the Right Location
- 3 Mark Your Mounting Points
- 4 Installing the Mounting Bracket
- 5 Attaching the TV to the Bracket
- 6 Connecting Your Devices
- 7 Setting Up Your Network
- 8 Fine-Tuning the Picture and Sound
- 9 Troubleshooting Common Issues
- 10 Regular Maintenance
- 11 Contact Us for Professional Installation
Gather Your Tools and Equipment
First and foremost, make sure you have all the tools and equipment you’ll need. This step ensures that you’re not left scrambling halfway through the installation. Some essential items include a drill, level, screwdriver, measuring tape, and, of course, the Tv Mounting bracket.
Double-check that you have the appropriate screws and anchors for your wall type. Having these items on hand will smooth out the installation process and reduce stress.
Choosing the Right Location
The placement of your commercial TV is crucial. Eye-level viewing is ideal, but you must also consider the room’s layout and where your audience will be seated. Make sure there are no obstructions and that the location gets minimal glare from windows or lights.
Additionally, consider the viewing distance. A larger screen should be placed farther away to ensure a comfortable viewing experience without eye strain.
Mark Your Mounting Points
Before drilling holes, mark the mounting points on the wall. Use a pencil to make tiny marks where you’ll drill. This preliminary step helps you ensure everything is straight and in the correct position before committing.
It’s also wise to use a stud finder to locate the wall studs. Mounting your TV on studs provides a safer and more secure installation, especially for heavier screens.
Installing the Mounting Bracket
Now that your points are marked, it’s time to install the mounting bracket. Align the bracket to your marked points and start drilling. Make sure the bracket is level before securing it fully.
Once the bracket is securely attached, give it a gentle tug to make sure it’s firmly in place. This ensures that your TV will stay mounted safely on the wall.
Attaching the TV to the Bracket
With the bracket securely mounted, the next step is attaching the TV to it. Be sure to have a friend or coworker assist you; TVs can be heavy and unwieldy. Carefully lift the TV and align it with the bracket’s hooks or slots.
Make sure the TV clicks into place securely. Double-check that all screws and fastenings are tight before letting go of the TV.
Connecting Your Devices
Now that your TV is mounted, it’s time to connect your devices. This includes your cable box, Blu-ray player, and any other peripherals.
Ensure all cables are attached correctly and securely. Neatly tuck away any loose cords using cable management solutions to keep your setup looking professional.
Setting Up Your Network
Commercial TV systems often require a network connection for seamless streaming and software updates. Connect your TV to your network via Ethernet or Wi-Fi.
Make sure the connection is stable. You don’t want any interruptions during important presentations or during high-traffic viewing times.
Fine-Tuning the Picture and Sound
Once everything is connected, it’s time to fine-tune the picture and sound settings. Access the TV’s menu and adjust the brightness, contrast, and color settings for optimal viewing. Make similar adjustments to the sound settings, depending on your room’s acoustics.
If you have a soundbar or external speakers, ensure they are correctly set up for a rich audio experience. Regularly check for software updates to keep your system running smoothly.
Troubleshooting Common Issues
Even with careful planning, issues may arise. Here are some common problems and how to address them:
- No Signal: Check that all cables are properly connected and that the correct input source is selected on your TV.
- Loose Brackets: Double-check all screws and fastenings to ensure they are secure.
- Poor Picture Quality: Adjust the TV settings and check your network connection if streaming content.
- Sound Issues: Verify that the audio cables are correctly connected and that the TV’s volume settings are adjusted properly.
- Remote Not Working: Ensure that the remote has fresh batteries and is correctly paired with the TV.
Regular Maintenance
Regular maintenance is crucial for keeping your commercial TV system in top condition. Routine checks ensure everything operates smoothly and identifies potential issues before they become major problems.
Make it a habit to dust your TV and components to prevent overheating. Also, routinely inspect the mounting bracket and other hardware to ensure everything remains secure.
Contact Us for Professional Installation
If you find the process overwhelming or simply prefer professional assistance, don’t hesitate to contact us. Our team of experts is well-equipped to handle all aspects of commercial TV installation.
We take pride in offering top-notch service tailored to your specific needs. Your satisfaction is our highest priority, so let us do the heavy lifting.
Need help installing your commercial TV system? Contact Utah TV Mounting by phone at 801-383-0493 or Request a Free Quote.


