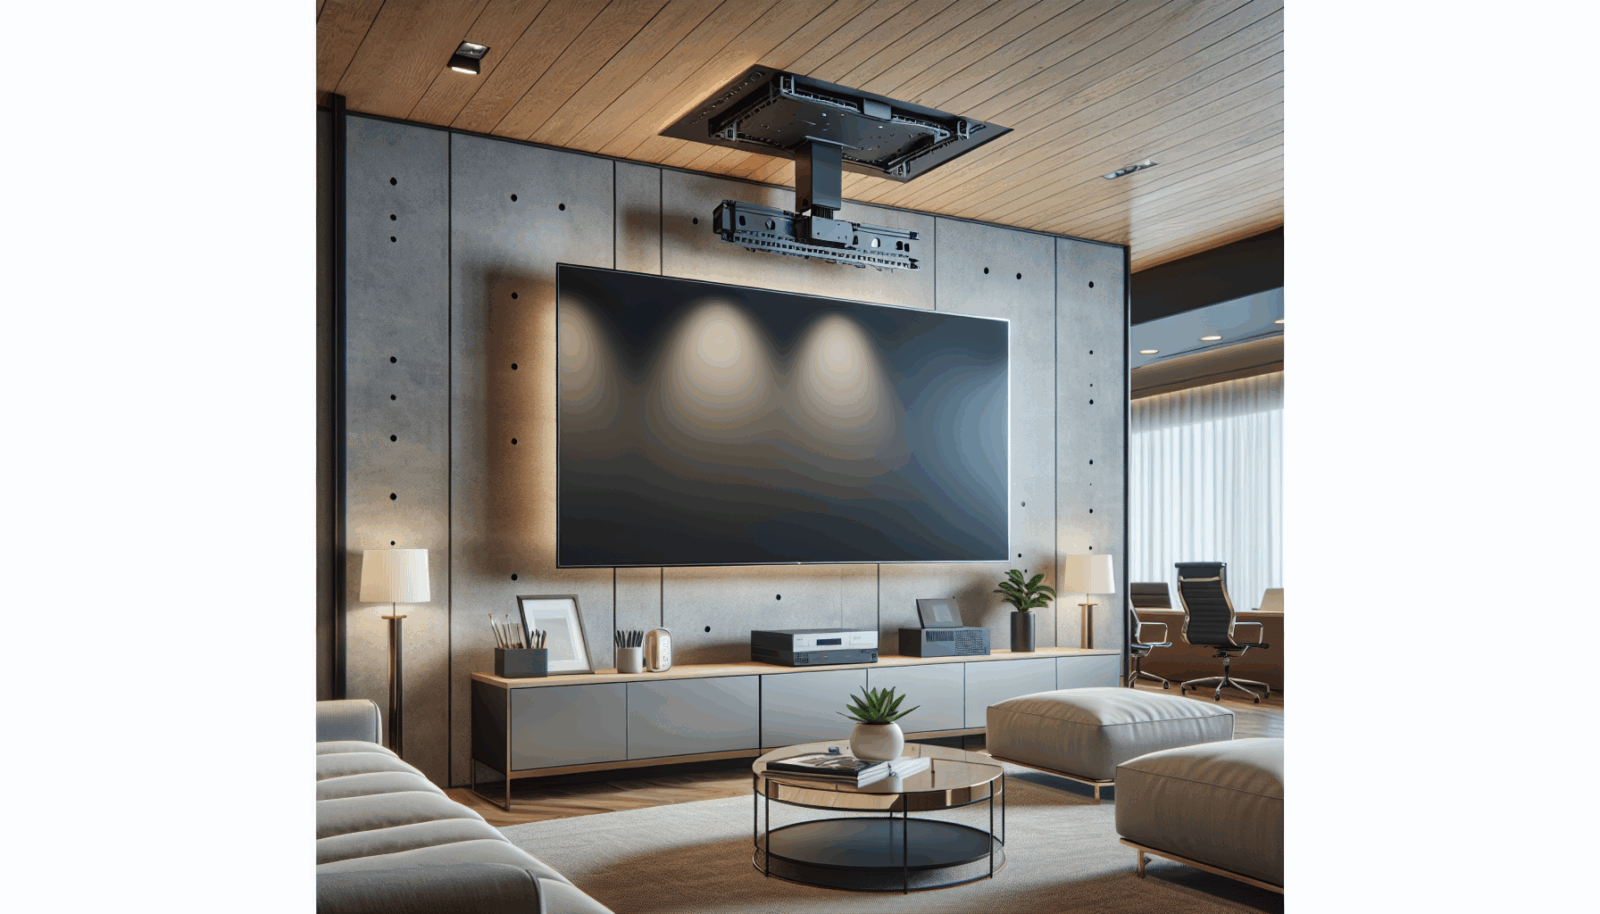
Welcome to Utah TV Mounting‘s comprehensive guide on installing a ceiling TV mount! If you’ve ever struggled with finding the perfect spot for your TV without taking up floor space, you’re in the right place. This article will walk you through the entire process step-by-step, ensuring your installation is safe and secure. Whether you’re a DIY enthusiast or new to home improvement, we’ve got you covered!
Contents
- 1 Understanding the Benefits of a Ceiling TV Mount
- 2 Tools and Materials You’ll Need
- 3 Choosing the Right Ceiling Mount
- 4 Locating Ceiling Joists
- 5 Marking and Drilling Holes
- 6 Securing the Mount to the Ceiling
- 7 Attaching the TV to the Mount
- 8 Adjusting the Viewing Angle
- 9 Ensuring Safety and Stability
- 10 Common Mistakes to Avoid
- 11 Wrapping Up Your Installation Adventure
Understanding the Benefits of a Ceiling TV Mount
Ceiling Tv Mounts offer several advantages that make them a great choice for many homeowners. First, they save valuable floor space, allowing you to utilize your room in more creative ways. Plus, ceiling mounts provide a unique viewing angle, often making movie nights feel like a theater experience. Not to mention, they offer an excellent solution for homes with limited wall space.
Tools and Materials You’ll Need
Before diving into the installation, you’ll need to gather some essential tools and materials. A little preparation will make the process smoother and more enjoyable. You’ll need a drill, stud finder, wrench, measuring tape, and a screwdriver. For safety and optimal installation, make sure your ceiling mount kit includes all necessary bolts, brackets, and screws.
Choosing the Right Ceiling Mount
Selecting the appropriate ceiling mount is crucial for a successful installation. Consider the size and weight of your TV, as mounts are designed to support specific ranges. Look for mounts with adjustable tilting and swiveling features to enhance your viewing experience. It’s also important to choose a mount that matches your ceiling type, whether it’s flat or sloped.
Locating Ceiling Joists
Finding the right spot to secure your TV is vital for stability. Use a stud finder to locate the ceiling joists, as these will provide the strongest support. Mark the joist positions with a pencil, ensuring a correct and balanced alignment for your TV. Remember, precise placement now will prevent issues later.
Marking and Drilling Holes
With your joist Locations marked, it’s time to prepare for the actual mounting. Measure and mark where you’ll drill the holes for the mount. Using the drill, create pilot holes that match your mount’s bracket holes. This step is essential for an accurate and secure fit, minimizing the risk of slippage.
Securing the Mount to the Ceiling
Now it’s time to secure the mount! Attach the base of the ceiling mount to your drilled pilot holes. Use a wrench to tighten the bolts firmly, ensuring there’s no wobble or loose components. Double-check the alignment to guarantee everything is in place before proceeding to the next step.
Attaching the TV to the Mount
This is where your TV finally joins the setup! Follow the instructions provided with your mount kit to attach the brackets to the back of your TV. Once the brackets are secure, lift the TV and connect it to the ceiling mount. Make sure it’s locked in place to avoid any accidents.
Adjusting the Viewing Angle
One of the great benefits of a ceiling mount is the adjustable viewing angles. Depending on your room layout, you might want to tilt or swivel the TV for optimal viewing. Experiment with different angles to see what works best, and ensure the TV is securely locked in the desired position.
Ensuring Safety and Stability
Safety always comes first when installing a ceiling TV mount. Perform a final check on all bolts and screws to confirm they are tight. Ensure there are no signs of strain, and regularly inspect the mount for any wear and tear. This proactive approach will keep your setup secure for years to come.
Common Mistakes to Avoid
- Skipping Joist Alignment: Always mount the TV to the ceiling joists to ensure stability and prevent accidents.
- Ignoring Weight Limits: Never exceed the weight capacity of your chosen mount to maintain safety.
- Incorrect Tool Use: Using the wrong tools can lead to improper installation; always use the recommended equipment.
- Neglecting Instruction Manuals: Read the instructions provided with your mount to avoid mistakes during installation.
- Overlooking Regular Checks: Frequently inspect the mount and its components to ensure everything remains secure.
Wrapping Up Your Installation Adventure
And there you have it—your complete guide to installing a ceiling TV mount. This project not only enhances your living space but also adds a fun twist to your home setup. Remember, the key to success is careful planning, precision, and attention to detail.
If this seems daunting or you simply prefer professional assistance, contact Utah Tv Mounting by phone at 801-383-0493 or Request a Free Quote.


