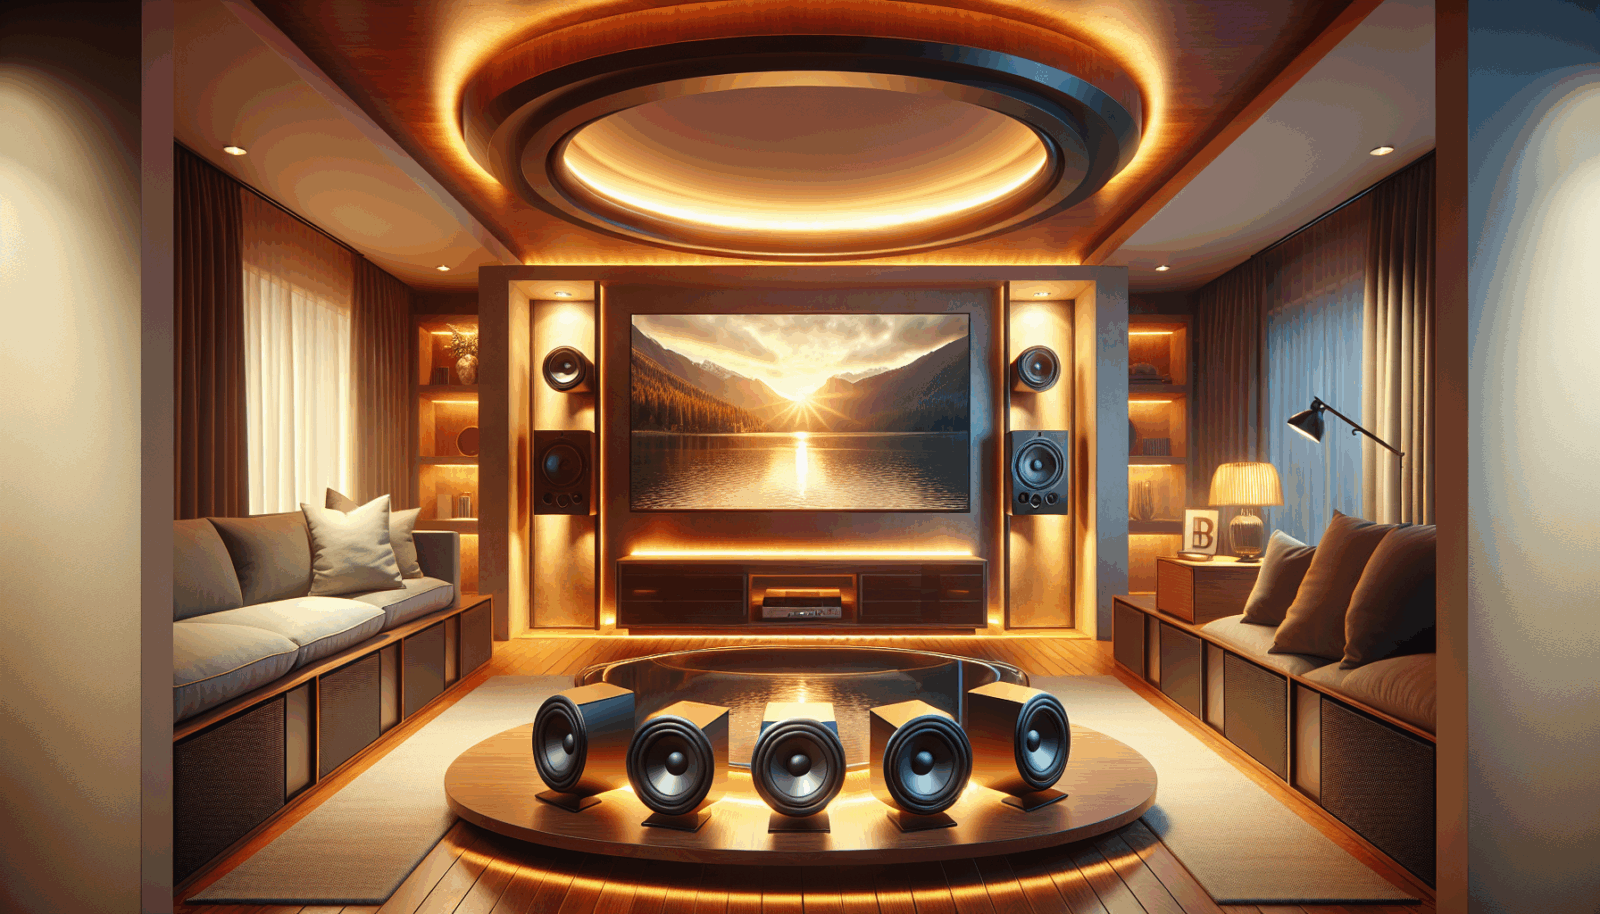
DIY Surround Speaker Installation Tips and Tricks
At Utah TV Mounting, we know that creating the perfect home theater experience can sometimes feel overwhelming, especially when it comes to speaker installation. But fear not! We’re here to guide you through the DIY surround speaker installation process, making it both fun and straightforward. Whether you’re a seasoned DIYer or just getting started, these tips and tricks are designed to save you time and frustration.
Contents
- 1 Understanding Your Surround Sound System
- 2 The Right Tools for the Job
- 3 Mapping Out Speaker Placement
- 4 Mounting Your Speakers
- 5 Wiring Your Speakers
- 6 Adjusting Sound Settings
- 7 Troubleshooting Common Issues
- 8 Keeping It Neat
- 9 When to Call a Professional
- 10 Final Checklist for Setup Success
- 11 Conclusion
Understanding Your Surround Sound System
First things first, let’s dive into what a surround sound system is all about. Essentially, it’s a setup of multiple speakers placed around the room to provide a more immersive audio experience. This system typically includes front, center, and rear speakers along with a subwoofer. Together, they create a rich, cinematic sound.
Having a clear understanding of how your system works will make installation much easier. Knowing which speaker performs each role helps you position them correctly and allows you to enjoy the sound as it was meant to be heard. Let’s get those speakers singing in harmony!
The Right Tools for the Job
Before you start, gather the necessary tools. Nothing stalls a project like having to pause for a tool run. You’ll likely need items like a drill, level, tape measure, and wire strippers. Having everything on hand ensures a smooth workflow and helps prevent those pesky interruptions.
By using the right tools, not only do you make the job easier, but you also protect your speakers and walls from accidental damage. Plus, it just feels great to use the right tool for the task at hand!
Mapping Out Speaker Placement
Consider your room’s layout. The way your furniture is arranged and how you use the space will influence where you should place your speakers. Take some time to visualize or sketch out potential speaker positions.
Remember, each speaker has specific roles, and their placement matters. Generally, front speakers go next to your TV, the center speaker is right above or below your screen, and rear speakers should be placed behind your seating area. Proper mapping ensures the sound flows the way it should.
Mounting Your Speakers
Now that you have your layout, it’s time to mount your speakers. This can feel daunting, but with a little patience, you’ll have them up in no time. Be sure to check the manufacturer’s instructions for any specific mounting advice they offer.
Use a level to make sure they are straight, and double-check you’ve found a secure spot, ideally into wall studs for stability. Uneven or loosely mounted speakers not only look unprofessional but can also affect sound quality.
Wiring Your Speakers
Next comes the wiring. Hidden wires certainly add to the aesthetic appeal. Plan your cable routes to avoid any tangles or trips. Cable conduits can be a lifesaver for this part.
Make sure your wire runs aren’t too tight, providing some slack prevents any stress on the connections and allows for future adjustments if needed. This thoughtful wiring also contributes to the longevity of your setup.
Adjusting Sound Settings
After your speakers are mounted and wired, take some time to adjust the sound settings on your AV receiver. This step is crucial for optimal audio performance. Utilize the manufacturer’s guide for recommended settings as a starting point.
Remember, sound settings might need tweaking for your specific room acoustics. Don’t hesitate to experiment a little—what sounds best to your ears is what matters most.
Troubleshooting Common Issues
Sometimes things might not sound perfect right away. Don’t worry; troubleshooting is just part of the process. Common issues can range from speaker crackling to a lack of bass or uneven sound distribution.
Check all connections and ensure everything is plugged correctly. If problems persist, consult your AV receiver’s manual or Contact Us for advice. We’re here to help you get the crisp, clear sound you deserve.
Keeping It Neat
A tidy setup isn’t just pleasing to the eye; it’s also safer and more efficient. Use ties and clips to organize your cables and avoid a web of wires behind your setup. This not only looks better but also makes future maintenance a breeze.
A neatly organized entertainment area can transform your space into a true relaxation zone, free from clutter and distraction.
When to Call a Professional
While DIY tasks can be rewarding, there might be times when calling in the pros is the best move. If you’re dealing with complex wiring or mounting challenges, or if you simply want the peace of mind of a perfect setup, we’re here to help.
Contacting professionals ensures that your system is installed safely and correctly. Plus, we can offer tips and tricks to maximize your system’s potential. Don’t hesitate to reach out when needed.
Final Checklist for Setup Success
- Double-check Speaker Placement: Ensure all speakers are positioned correctly according to your room layout.
- Test Connections: Make sure every cable is secure, and run a quick audio test to verify sound quality.
- Optimize Sound Settings: Fine-tune your receiver for the perfect audio experience suited to your taste.
- Manage Cables Efficiently: Keep all wires organized and tucked away neatly using ties and covers.
- Call for Backup: If you’re stuck, don’t hesitate to reach out to a pro for guidance or setup assistance.
Conclusion
With these DIY installation tips and tricks, you’re ready to enhance your home theater experience. For more personalized help, call us at 801-383-0493 or Request a Free Quote. Enjoy your cinematic audio adventure!


