Ensuring your TV is correctly mounted is crucial for both safety and viewing pleasure. At Utah TV Mounting, we understand that the task can seem daunting, but this article will guide you through the entire process step-by-step, ensuring your TV is securely and properly mounted. Our aim is to help homeowners achieve a safe and professional TV installation without the hassle. So, let’s dive into it and make mounting your TV a breeze!
Contents
Choosing the Right TV Mount
Not all TV mounts are created equal, and selecting the right one is the first step. Start by considering the size and weight of your TV. Different mounts have various weight capacities, so it’s important to match them.
You’ll also want to think about the desired viewing angle. Fixed mounts are perfect if you want a low-profile look, while tilt mounts offer a bit more flexibility. For the ultimate in adjustability, consider a full-motion mount.
Finding the Perfect Spot
Next up is choosing the optimal location for your TV. Ideally, you want a spot that enhances your viewing experience without causing any strain.
Consider the height at which you’ll mount the TV. A good rule of thumb is that the center of the screen should be at eye level when you’re seated. Also, make sure there are no glare issues from windows or lights.
Gathering Your Tools
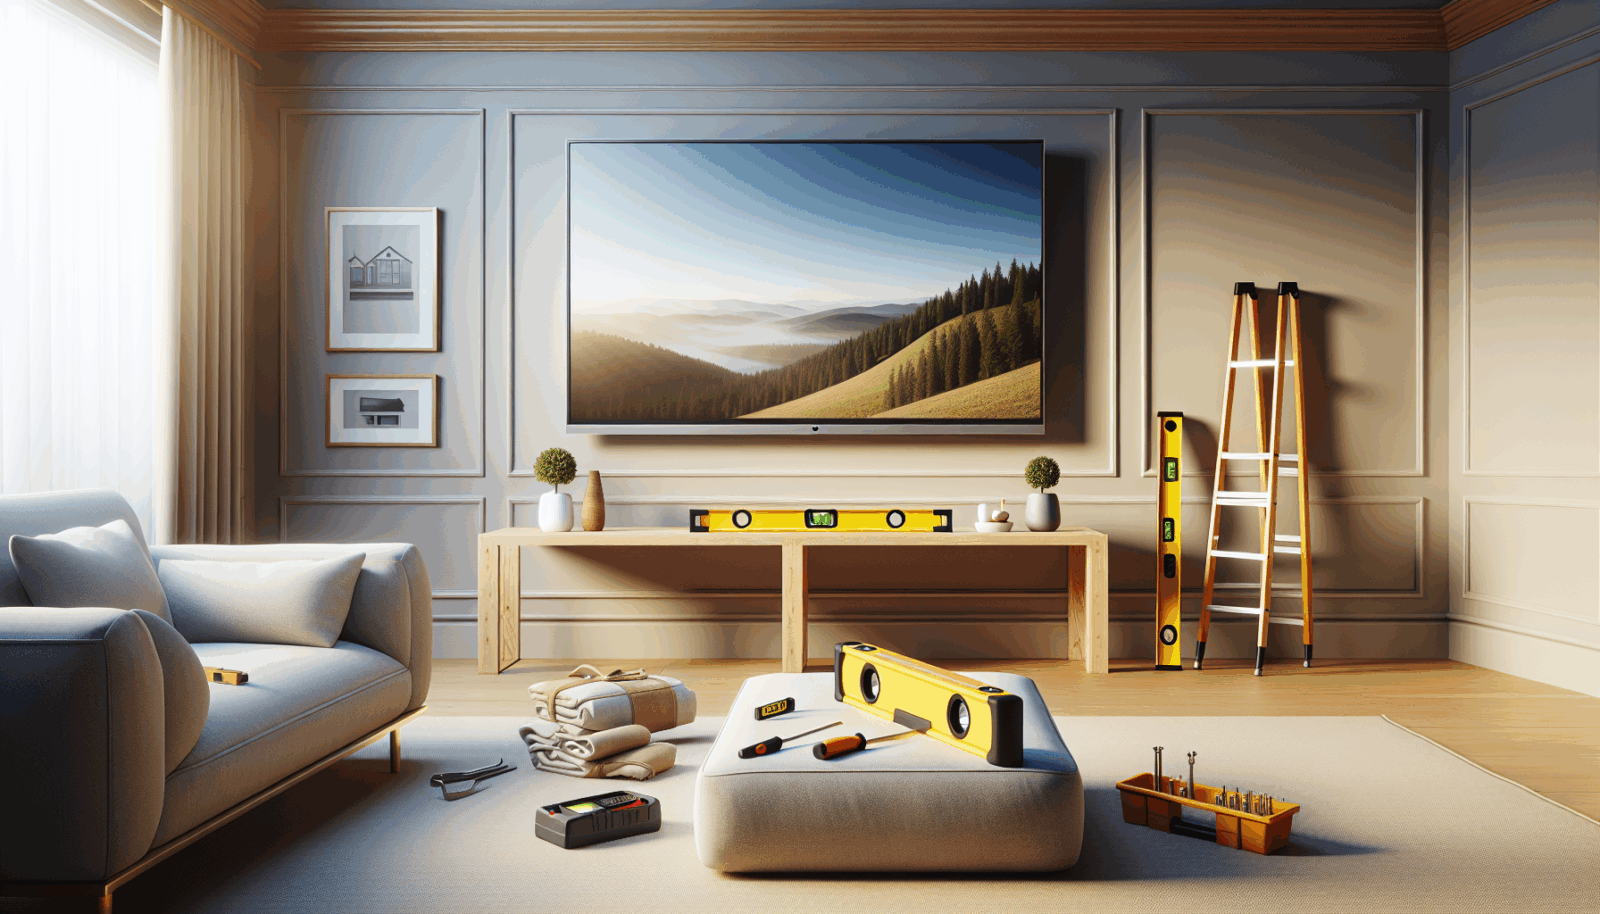
Before you start, make sure you have all the necessary tools. This will save you time and frustration.
Common tools include a stud finder, level, measuring tape, screwdriver, drill, and the appropriate drill bits. Having these on hand ensures you’ll be ready to tackle any challenges that arise.
Locating the Studs
For a secure installation, you’ll need to find the wall studs. This is crucial as mounting the TV on drywall alone can be hazardous.
Use a stud finder to locate the studs. Mark them with a pencil for easy reference during the installation process. Ensure that your marks are even, as this will affect the final look and stability of your TV.
Marking and Drilling Holes
Once you’ve located the studs, it’s time to mark where you’ll drill the holes. This needs to be done with precision to avoid any mishaps.
Hold the mount against the wall and use a level to ensure it’s straight. Mark the drill holes on the wall with a pencil. After this, you can proceed to drill the pilot holes.
Attaching the Mount to the Wall
Now, it’s time to attach the mount to the wall securely. Use lag bolts to ensure a strong hold.
Place the mount against the wall, aligning it with the pilot holes. Insert the lag bolts and tighten them with a socket wrench. Make sure the mount is firm and level before proceeding to the next steps.
Mounting the TV Bracket
The next step involves attaching the bracket to the back of your TV. Follow the manufacturer’s instructions for a safe installation.
Ensure the bracket is securely fastened to your TV. Double-check that all screws are tight, as a loose bracket can lead to accidents. Once attached, lift the TV carefully and hang it on the wall mount.
Checking for Stability
After mounting the TV, it’s vital to check that everything is secure. This ensures your TV will stay safely mounted.
Gently shake the TV to make sure it’s stable. If it moves, double-check that all screws are tightened and that the mount is secured to the studs. A stable setup will give you peace of mind.
Concealing Cables
No one likes a tangle of cables hanging down from their beautifully mounted TV. Fortunately, there are several ways to hide them.
You can use cable covers, which are easy to install and can be painted to match your wall. Alternatively, if you’re comfortable with a bit of DIY, consider routing the cables through the wall for a cleaner look.
Testing and Final Adjustments
The final step in the process is to turn on the TV and make any necessary adjustments. This ensures everything is working as it should.
Check that the TV works properly and that the picture is clear. Adjust the tilt or angle if needed to get the best viewing experience. You’re now ready to enjoy your perfectly mounted TV!
Five Key Tips for Safe Tv Mounting
- Read the Manual: Always follow the manufacturer’s instructions for both the TV and the mount. They contain specific information that’s vital for a safe installation.
- Use the Right Tools: Using the correct tools not only makes the job easier but also ensures everything is installed properly.
- Find Those Studs: Mounting your TV to the wall studs provides the necessary support and prevents accidents.
- Double-Check Measurements: Ensure your marks and measurements are accurate to avoid any last-minute issues.
- Ask for Help: TV mounting can be a two-person job. Having an extra pair of hands makes the process smoother and safer.
Your TV mounting journey should now be complete, leaving you with a stylish and secure setup. If you have any questions or need professional assistance, don’t hesitate to contact Utah TV Mounting.
For a professional touch, give us a call at 801-383-0493 or Request a Free Quote.


