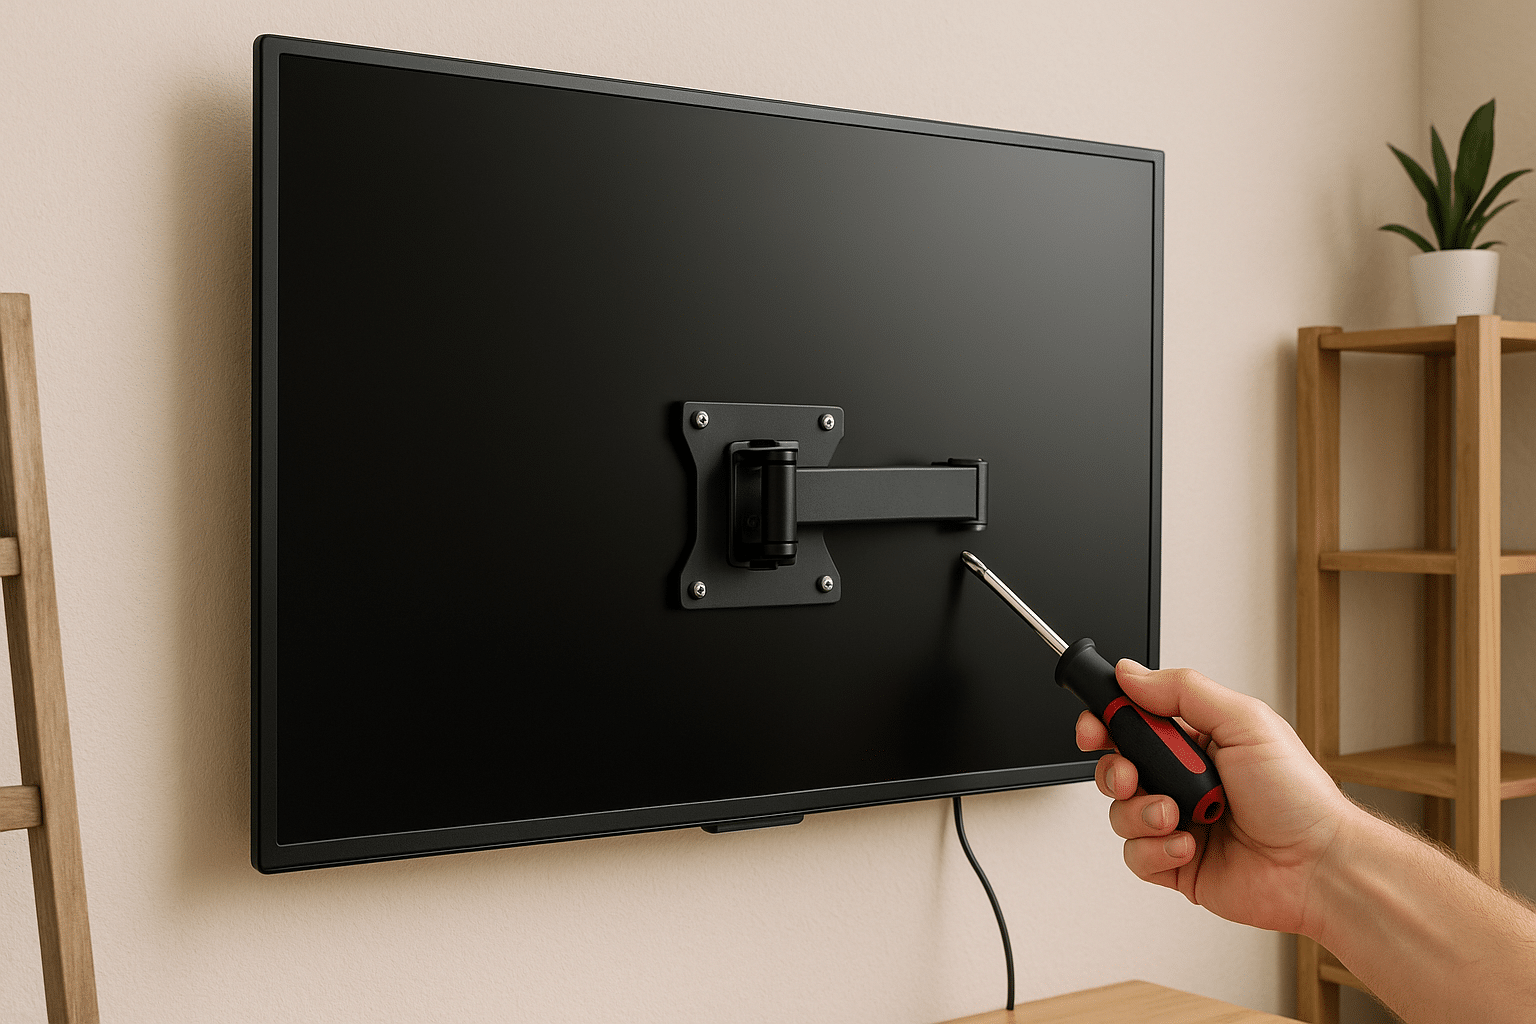
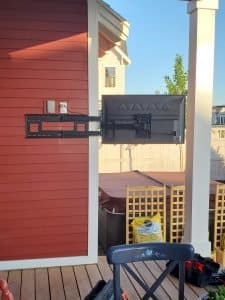
If your TV is wobbling, tilting, or suddenly won’t stay flush against the wall, don’t panic — you’re not alone. This guide on DIY Wall TV Mount Repair Tips is written for Salt Lake City homeowners who like rolling up their sleeves (but not taking unnecessary risks). You’ll get clear, usable steps — think short, practical moves — plus honest advice about when to quit and call someone. You know what? Fixing a mount can feel satisfying, like tightening up a loose cabinet hinge; and yes, sometimes it’s quicker than you expect.
Contents
- 1 Why even try a DIY repair? (Quick pros and the catch)
- 2 First things first: safety check before you touch anything
- 3 Common problems and the straightforward fixes
- 4 Step-by-step repair guide (short and practical)
- 5 When it’s time to call the pros (and why it’s okay)
- 6 Local tips for Salt Lake City homes (a little local flavor)
Why even try a DIY repair? (Quick pros and the catch)
Let’s be real: hiring a pro is easy and reassuring, but it costs money. Doing it yourself saves cash and gives you control — you can handle small fixes in an evening with a beer or a playlist. On the flip side, messing up a wall or dropping a TV is no joke. So here’s the catch: minor adjustments and tighten-ups are fair game for most homeowners; structural failures, big cracks, or suspicious creaks deserve professional attention.
This article helps you decide which side you’re on, and gives the tools to safely attempt common repairs, without pretending every problem is DIY-friendly.
First things first: safety check before you touch anything
Let me explain: safety isn’t optional. Put the TV on a soft surface before you start; that’s the rule. Next, identify what kind of mount you have—fixed, tilting, or full-motion. Each behaves differently when it’s failing.
Essential checks:
- Look: Inspect bracket plates, screws, and the wall around the mount for cracks, rust, or broken fasteners.
- Feel: Wiggle gently at different points. If the mount shifts a lot, don’t be cavalier—this is a big red flag.
- Find studs: Most wall mount failures relate to not being anchored in studs. Use a Zircon or Franklin stud finder—or tap the wall and listen for a change in sound.
Quick tool reference:
| Tool | Brand example | Why |
|---|---|---|
| Stud finder | Zircon | Locates studs so you can anchor securely |
| Drill & bits | DeWalt or Bosch | Drill pilot holes and drive lag bolts |
| Torque wrench | Craftsman | Prevents overtightening and stripped bolts |
Common problems and the straightforward fixes
Here are the issues you’ll probably see most often, and what to do.
Loose screws or a shifting TV
This is the most common. Start by removing the TV and checking the bolts on the bracket. Replace any stripped screws. You might think you can just tighten until it’s headache-tight; honestly, no — overtightening can strip drywall anchors or warp the bracket.
Fix: Replace worn screws with the correct grade (usually grade 8 lag bolts for stud-mounted brackets) and use a torque wrench to get consistent tightness.
Tilted or sagging mount
Tilt problems usually come from loose vertical rails or worn tilt mechanisms. Sometimes a simple realignment fixes it. Other times a key part inside the mechanism has failed — which is when “repair” and “replace” start to feel similar.
Fix: Tighten the tilt bolts, replace any stripped washers, and if the plastic gear inside the tilt mechanism is cracked, plan to replace the mount head or the entire mount.
Cracked drywall or failing anchors
Small cracks around anchors can be deceptive. They may look minor but are often a sign the mount wasn’t anchored into a stud. You can use toggle bolts for heavier TVs in drywall, but that’s not a permanent substitute for studs.
Fix: Remove the mount, patch the damaged area with joint compound, then relocate the mount to hit studs. If studs are out of reach, consider a plywood backer plate secured to multiple studs for wide distribution of the load.
Loose or messy cables
This one’s not structural but it’s annoying. Loose cords can tug and slowly stress mount hardware, and messy cables look sloppy — not what you want in a tidy Salt Lake City living room.
Fix: Use cable raceways or in-wall rated kits. For newer homes, consider running a low-voltage kit through the wall for a clean look. Brands like Legrand and Datacomm make tidy solutions.
Step-by-step repair guide (short and practical)
Here’s a condensed workflow you can follow. You don’t need a PhD, but you do need patience.
1. Turn off and disconnect everything. Remove the TV and lay it face down on a blanket. If it’s a big set, get help—this is not a solo-lift moment.
2. Inspect the bracket and wall. Note missing screws, bent parts, and any wall damage. Photograph everything — it’ll help if you need to buy parts or call a pro later.
3. Locate studs; mark them. If you’re thinking “I don’t need a stud finder,” well, sometimes feel works, but usually you’ll want one.
4. Remove old anchors and hardware. Patch the small holes if you’re moving the mount a few inches. Let compound dry.
5. Reinstall the mount: use new lag bolts into studs, washers, and a lock washer when available. Tighten to manufacturer specs—don’t guess.
6. Reattach the TV to the bracket (get a buddy). Level it and test for play at multiple points. If it’s rock-solid, reconnect everything and celebrate quietly.
When it’s time to call the pros (and why it’s okay)
Here’s the thing: you’ll know when you should stop. If you discover multiple studs that are rotten, major cracks in plaster, electrical wiring behind the mount, or the mount’s manufacturer suggests professional service, call someone. Also call if the TV is expensive and irreplaceable to you. There’s pride in DIY, sure, but not at the cost of a cracked set or injury.
We get calls for emergency wall repairs after people tried to retrofit mounts without checking studs — it happens. Calling a professional early can save time and money (and a lot of headache). Sometimes a repair turns into a full replacement; not every fix is worth doing twice.
Local tips for Salt Lake City homes (a little local flavor)
Older SLC houses often have lath and plaster walls, not drywall. That changes everything — different anchors, different expectations. Weather here can shift houses slightly over seasons; you might notice tiny changes after a big freeze or spring thaw. Also, if you rent, check your lease — landlords often require professional installation for heavy mounts.
And since you live nearby, shop local: Home improvement stores in Salt Lake City stock appropriate anchors, and local pros can advise about plaster repair. You might see more full-motion mounts in newer builds; in older living rooms, a low-profile fixed mount often makes sense.
If you’d rather skip the guesswork, we’re right here. Utah TV Mounting specializes in safe, neat installations and repairs across Salt Lake City. Call 801-383-0493 to talk through your issue, or Request a Free Quote online — we’ll assess whether it’s a quick fix or a job best handled by our team. Either way, we’ll be honest about what should and shouldn’t be attempted at home.


