DIY Tv Mounting: A Step-by-Step Guide
Mounting your TV can transform your space, but diving into a DIY project can feel overwhelming. That’s where we come in. At Utah TV Mounting, we provide expert advice to turn this daunting task into a fun and rewarding experience. Whether you’re a beginner or a seasoned DIY enthusiast, our guide will help you achieve a professional look without the hefty price tag.
Contents
Understanding Your Space
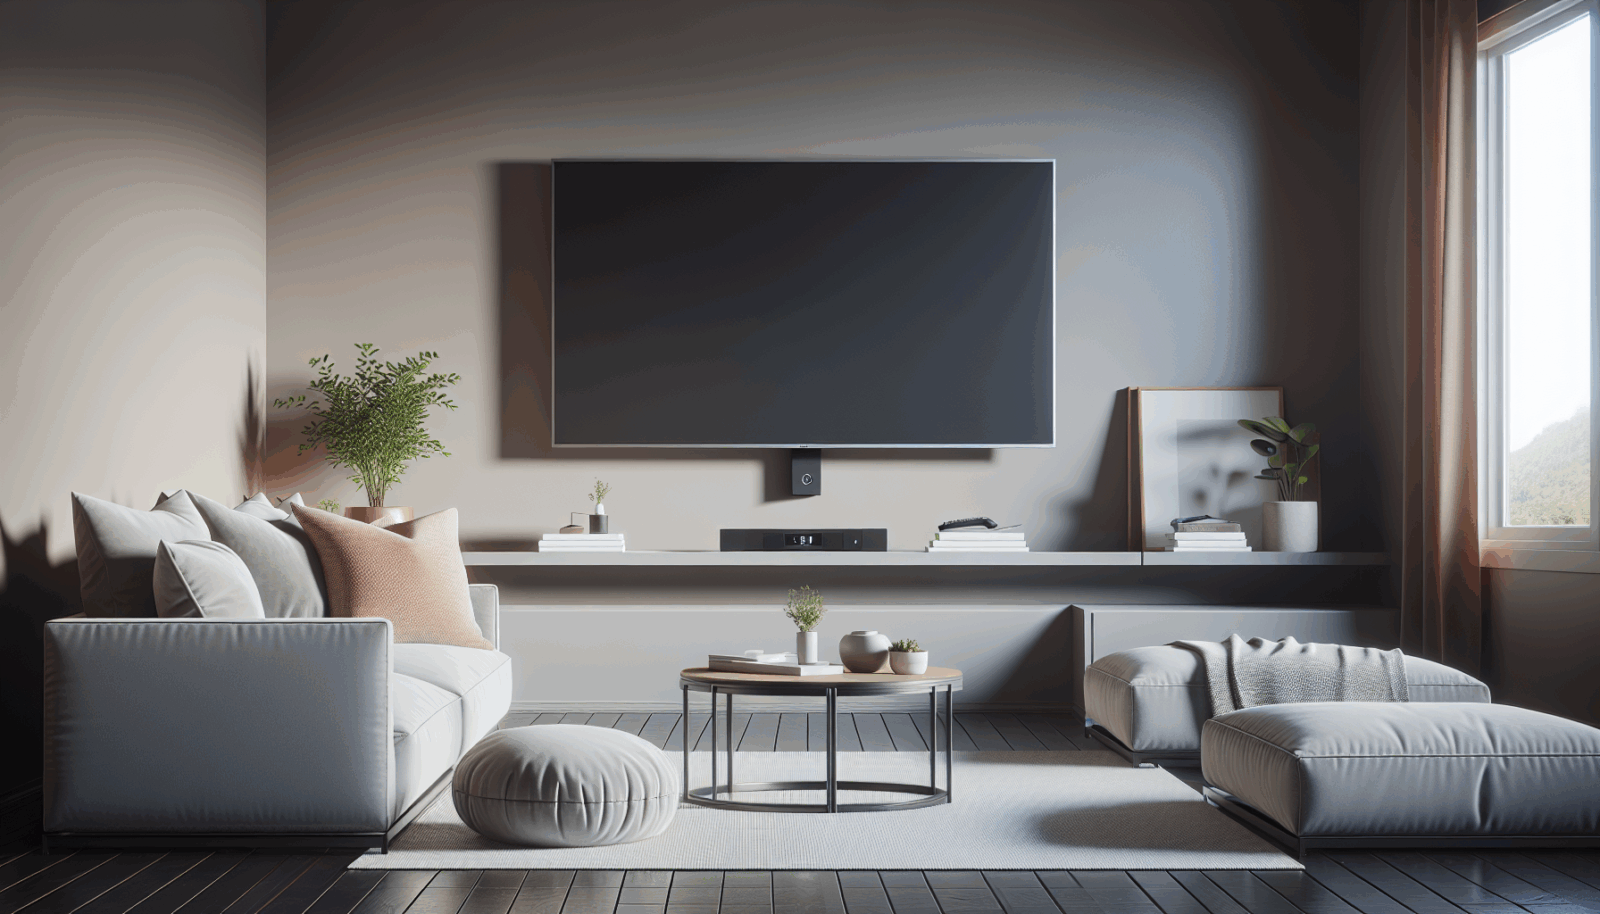
Before you grab your tools, it’s crucial to understand the layout of your room. Consider the viewing angles and lighting to ensure the best placement for your TV. This will not only enhance your viewing experience but also complement your room’s aesthetics.
Start by choosing a wall with minimal glare and optimal viewing height. Think about where you’ll be sitting and make sure the TV is easily visible from all angles. This step is often overlooked but is key to enjoying your new setup.
Additionally, consider any obstructions or existing decor that might interfere with the placement. You’ll want to measure your space and plan accordingly to avoid any surprises during installation.
Gathering Your Tools
You don’t need a ton of fancy equipment to mount your TV. With some basic tools, you can achieve professional results. Here’s what you’ll need:
Ensure you have a stud finder, level, measuring tape, drill, and the necessary mounting bracket. These are the essentials to get your TV securely mounted to the wall.
If you don’t already own these tools, many can be rented or borrowed. Having the right tools on hand will make the process smoother and more enjoyable.
Choosing the Right Mount
Selecting the appropriate mount for your TV is vital. There are several types to consider, each offering different benefits.
Fixed Mounts: These mounts keep the TV flat against the wall, perfect for those looking for a sleek, minimalist look. They offer no movement, so ensure your placement is spot on.
Tilt Mounts: Ideal for reducing glare or placing the TV higher on the wall, tilt mounts allow slight vertical adjustments for better viewing angles.
Full-Motion Mounts: These provide great flexibility, allowing you to swivel and tilt the TV in multiple directions. Perfect for larger rooms or open areas.
Locating the Studs
Finding the studs is one of the most important steps in ensuring your TV is mounted securely. Using a stud finder makes this process simple and accurate.
Run the stud finder along the wall to detect the wooden beams behind the drywall. Mark these Locations clearly as they will anchor your mount safely.
If the studs are not in the ideal location for mounting, consider using a mounting plate that can distribute the weight, or consult with us for more options.
Installing the Mount
Now that you have the mount and location ready, it’s time to install it. Follow these steps for a smooth installation.
Begin by attaching the mount to the wall, ensuring it’s level. Use your drill to secure the screws into the studs. Double-check alignment before tightening completely.
Once the wall mount is secure, attach the brackets to the back of your TV. This step is straightforward but requires attention to detail to match the VESA pattern on your TV.
Running Cables Neatly
No one likes a mess of cables dangling from a newly mounted TV. Here’s how you can keep those cables tidy and out of sight.
Use cable management tools like clips or sleeves to bundle and guide your wires. This will give your setup a clean, professional look.
Consider in-wall cable management systems if you’re comfortable making small modifications to your wall. They hide the cables entirely, adding to the sleek appearance.
Troubleshooting Common Issues
Encountering hiccups during your DIY project is normal, but don’t worry. Here are some solutions to common problems.
- Mount Not Level: If your TV isn’t sitting level, double-check the mount alignment with a level tool. Adjust the screws as necessary.
- TV Falls Off Mount: Ensure the brackets are securely fixed to the TV and the mount. It may require readjusting and tightening of all screws.
- Visible Cables: Reassess your cable management plan, using additional tools or rerouting as necessary.
- TV Too High/Low: This may require remounting, but make precise measurements beforehand to avoid repeating the same mistake.
- Weak Signal: Signal issues can arise from blocked or detached cables. Ensure all connections are secure and check your source settings.
Final Adjustments and Calibration
With everything mounted, it’s time for final adjustments. Don’t skip this final polish!
Adjust the tilt and swivel, if applicable, to find the perfect viewing angle. It might take a few tries, but the comfort in viewing is worth the effort.
Calibrate your TV settings to enhance picture and sound quality. Many TVs offer preset configurations that can be adjusted to suit your preferences.
Safety Tips
Safety is paramount in any DIY project. Here’s how to stay safe while mounting your TV.
Always use a sturdy ladder or step stool when working at height. Make sure it’s on a flat surface and have someone nearby to assist if needed.
Double-check that all your tools and equipment are functioning correctly. Faulty tools can lead to accidents or errors in your mounting process.
When to Call the Professionals
There may be times when DIY doesn’t feel like the best option. Don’t hesitate to reach out if:
You encounter structural obstacles that concern you. Professional evaluation can prevent damage to your property.
Time constraints or personal comfort suggest you’d rather leave it to the experts. We’re always here to help at 801-383-0493 or you can Request a Free Quote.
Congratulations on mounting your TV! Remember, if you need assistance, our team is just a call away at 801-383-0493 or Request a Free Quote.


