
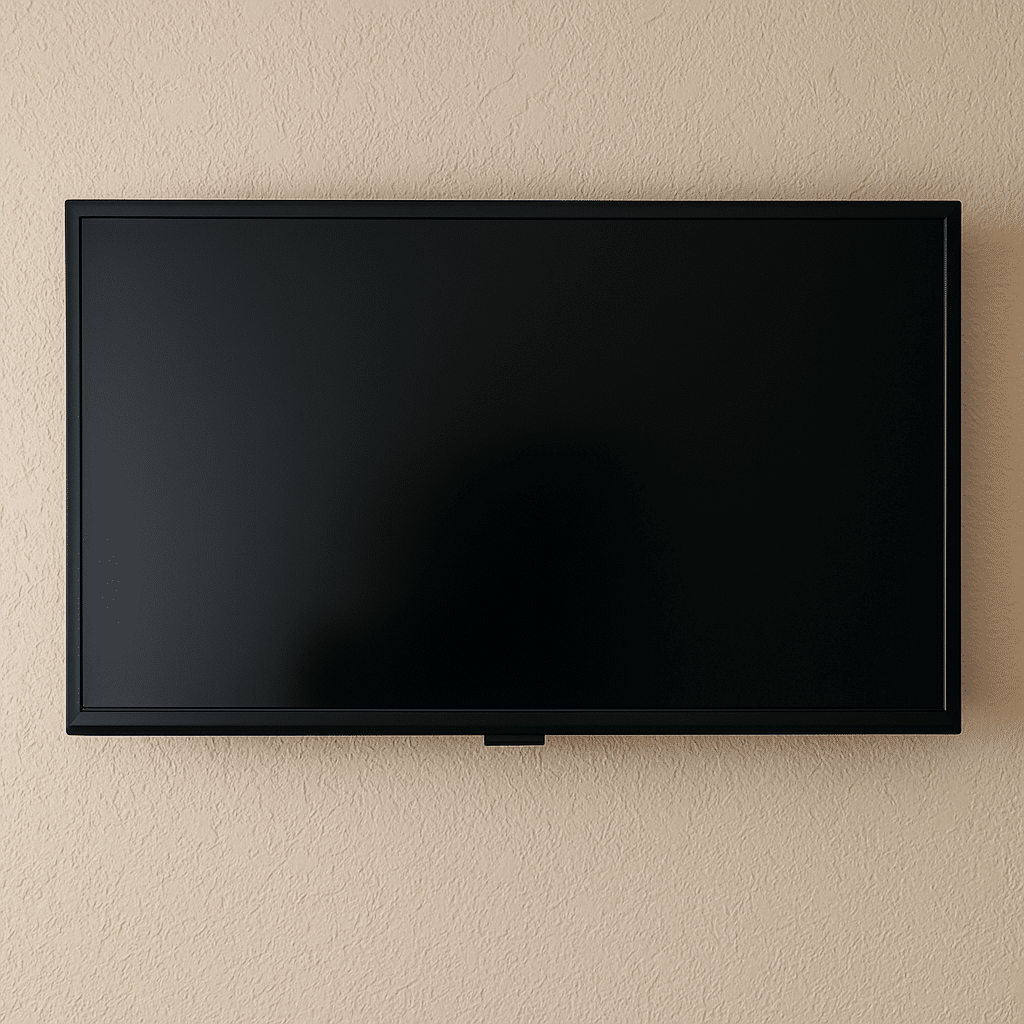
A textured surface changes marking, drilling, and plate contact. It does not carry the television. The job still depends on transferring load through the finish to suitable framing, masonry, or an engineered support system.
1. Identify the wall assembly
Determine whether the finish sits over drywall, plaster, concrete, brick, tile, wood, or another panel. Gypsum products can have different face and impact properties, so appearance alone does not identify what is behind the texture.[1]
2. Confirm the TV and mount
Record the television weight, VESA pattern, cabinet dimensions, and connection locations. VESA compatibility covers the display interface, while the mount's rating and wall attachment cover the rest of the load path.[2]
3. Mock up the screen
Use low-tack tape to mark the TV outline and center. Check viewing height, glare, nearby furniture, and cable routes. Measure the mount's offset so wall-plate holes are not guessed from the TV's edge.
4. Dry-fit the empty wall plate
Hold the plate against the finish and check for rocking on texture ridges or grout lines. Use only the manufacturer's approved method for spacers or surface preparation. Overtightening until the texture crushes can damage the finish without creating a sound attachment.
5. Scan and mark carefully
Check for likely electrical and plumbing routes. Use a template so pilot points do not wander on an uneven surface. Protect electronics and flooring from gypsum, plaster, or masonry dust.
6. Install to the verified substrate
Use hardware approved for the mount and wall structure. Sony recommends checking the exact television's mounting dimensions and required clearances before installation.[3] Support the TV with enough people, engage every lock, and inspect the wall plate before testing motion.
7. Plan for future repair
Save paint information, a finish sample, and installation photos. If the wall is brittle, tiled, unusually thick, or impossible to identify without destructive work, pause and have it evaluated. A clean result includes the wall after the television eventually comes down.
Sources
Manufacturer requirements and standards can change. Check the documentation for your exact television, mount, wall system, and room before installation.
- Gypsum Association, impact-resistant gypsum panels (accessed September 21, 2026)
- VESA Flat Display Mounting Interface Standard (accessed September 21, 2026)
- Sony wall-mount compatibility and dimension guidance (accessed September 21, 2026)