
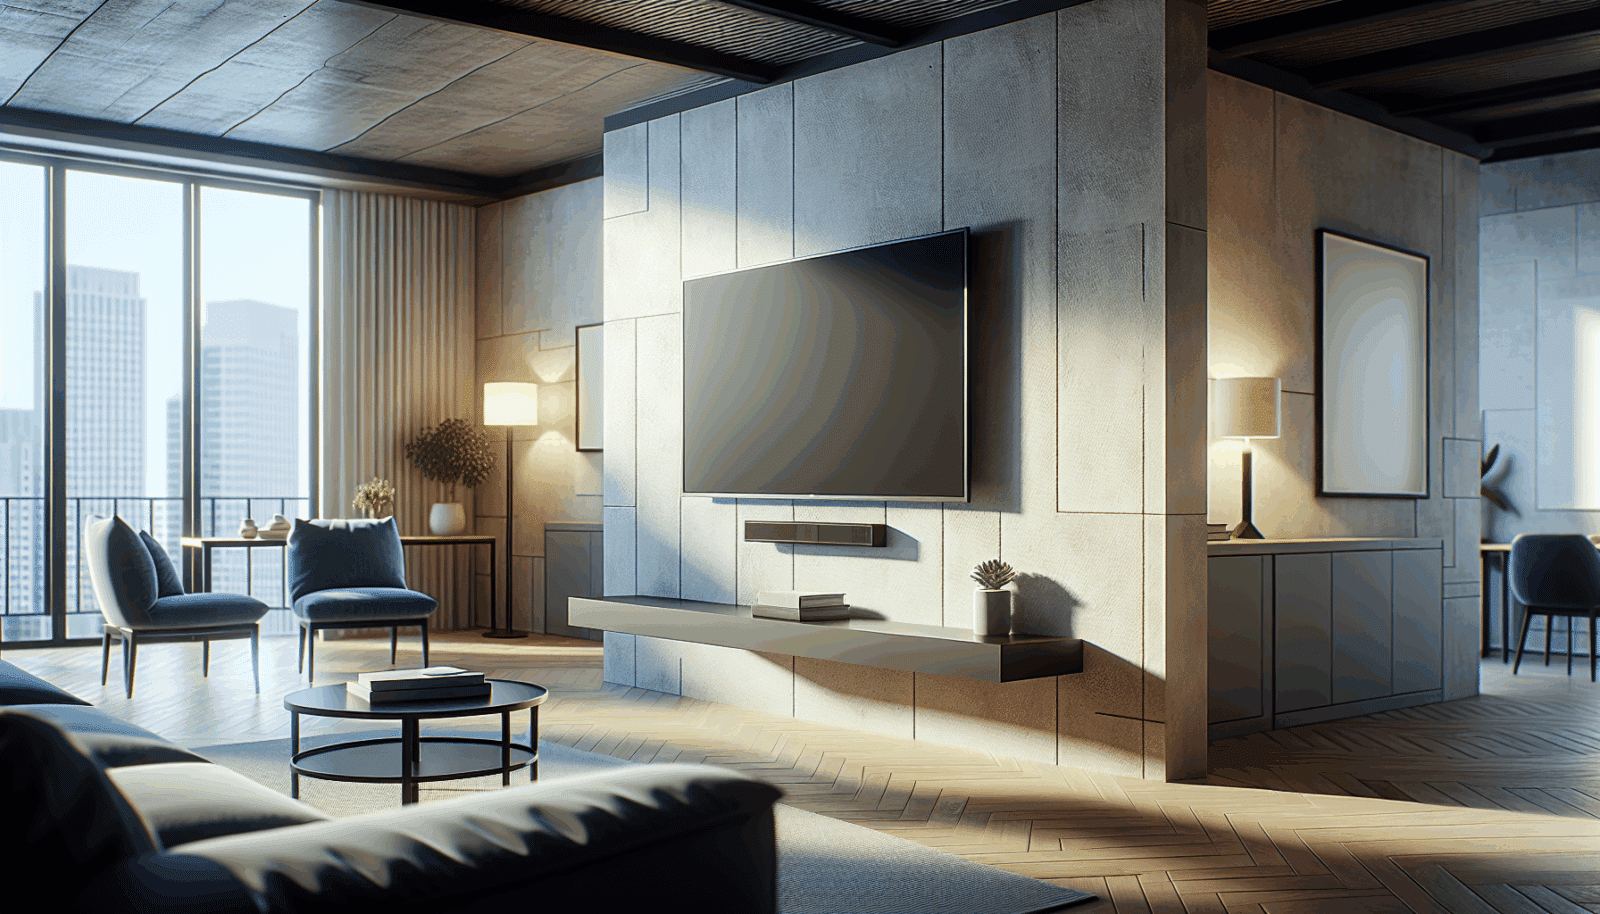
Orange peel, knockdown, skip-trowel, plaster texture, and decorative panels can make a wall harder to mark and easier to scar. They do not change the basic requirement: the television load must transfer through the finish into suitable structure.
Identify the layers
Determine whether the visible texture is over drywall, plaster, masonry, tile, wood paneling, or another assembly. Then identify the framing or solid substrate that will carry the mount. Gypsum products vary, including impact-resistant panels designed for higher resistance to indentation and penetration, so the face of a wall does not reliably tell you what is behind it.[1]
Keep the wall plate from rocking
Heavy texture can create high spots under a flat steel plate. Do not crush the finish until the plate appears tight. Follow the mount and substrate instructions for approved spacers, washers, or preparation. The plate must sit in a stable plane without concentrating load on a few texture peaks.
Lay out without ruining the finish
- Use low-tack painter's tape for reference lines.
- Transfer the mount's hole pattern with a template.
- Confirm level from the plate, not from a textured ceiling line.
- Start pilot locations carefully so the bit does not skate.
- Control dust and protect the floor and electronics.
Verify TV and mount compatibility separately
VESA describes the mounting interface at the display.[2] The mount rating and wall attachment still need to match the television and structure. Sony also recommends checking model-specific dimensions, mounting holes, and clearances before installation.[3]
Look for utilities before drilling
A textured finish can make pencil marks and detector readings harder to interpret. Scan the proposed fastener line, consider outlets and plumbing fixtures on both sides of the wall, and use the least destructive verification method that fits the construction. If readings conflict, move the layout or inspect further rather than drilling to see what happens. Protect nearby electronics from fine gypsum or masonry dust.
Plan for removal
A mount may stay up for years, but televisions and brackets eventually change. Keep enough paint or finish information to repair the wall later, and avoid unnecessary exploratory holes. On unusual plaster, tile, or decorative finishes, a careful installer can be cheaper than repairing a cracked surface.
Sources
Manufacturer requirements and standards can change. Check the documentation for your exact television, mount, wall system, and room before installation.
- Gypsum Association, impact-resistant gypsum panels (accessed September 21, 2026)
- VESA Flat Display Mounting Interface Standard (accessed September 21, 2026)
- Sony wall-mount compatibility and dimension guidance (accessed September 21, 2026)